Andonstar AD208 Digital Microscope for Electronics Engineers – Review and Teardown
Review of the Andonstar AD208 tabletop digital microscope with a large 8.5" LCD, Full HD 1080p video recording and 260x magnification.
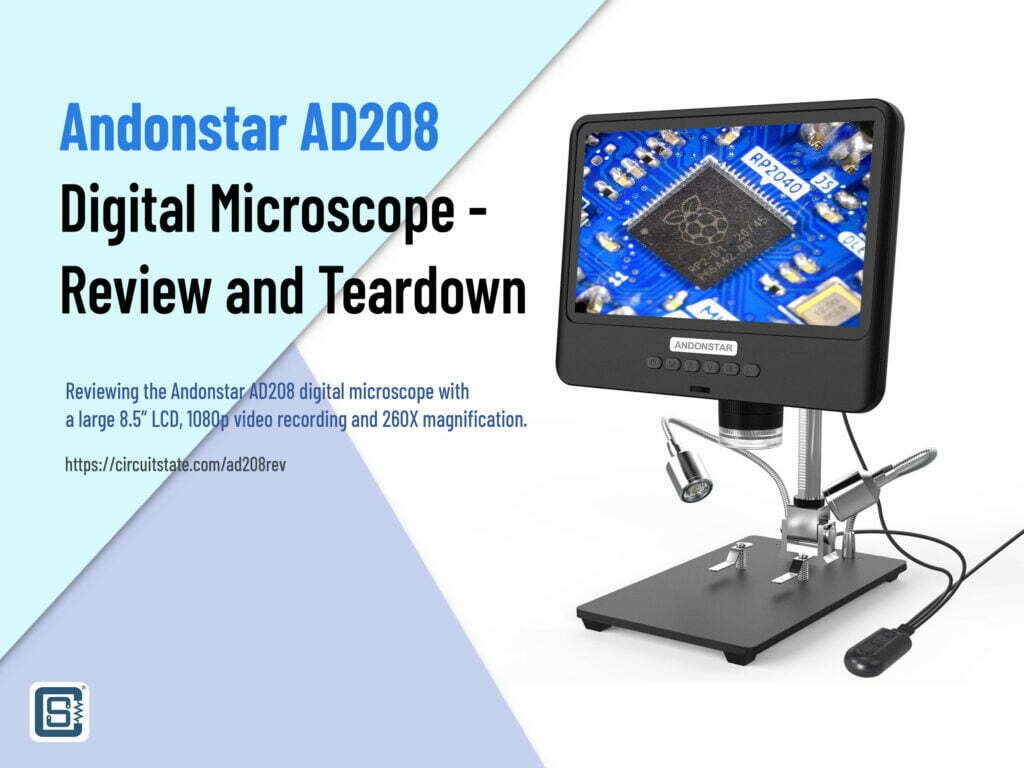
If you are an electronics engineer you would know how straining it can be for your eyes, neck, and back to stare at PCBs with small components for a long time during soldering or repairing. With the advent of technology, everything got smaller including electronic components and the PCBs. But our eye still hasn’t changed. The tool at our disposal to see smaller things we can’t see with the naked eye is a microscope. A digital microscope specifically is a tool widely used by mobile phone repair technicians to repair HDI (High-Density Interconnect) boards. It is nearly impossible to remove packages like WCSP and resolder them without using a microscope of adequate magnification. When you become more serious about your electronics work, be it design, testing, or repairing, getting a digital microscope becomes an important purchase decision. Getting a decent one can be somewhat tricky and in this post, we are going to present you with our review of AD208 standalone digital microscope from Andonstar, a Chinese manufacturer of similar products.
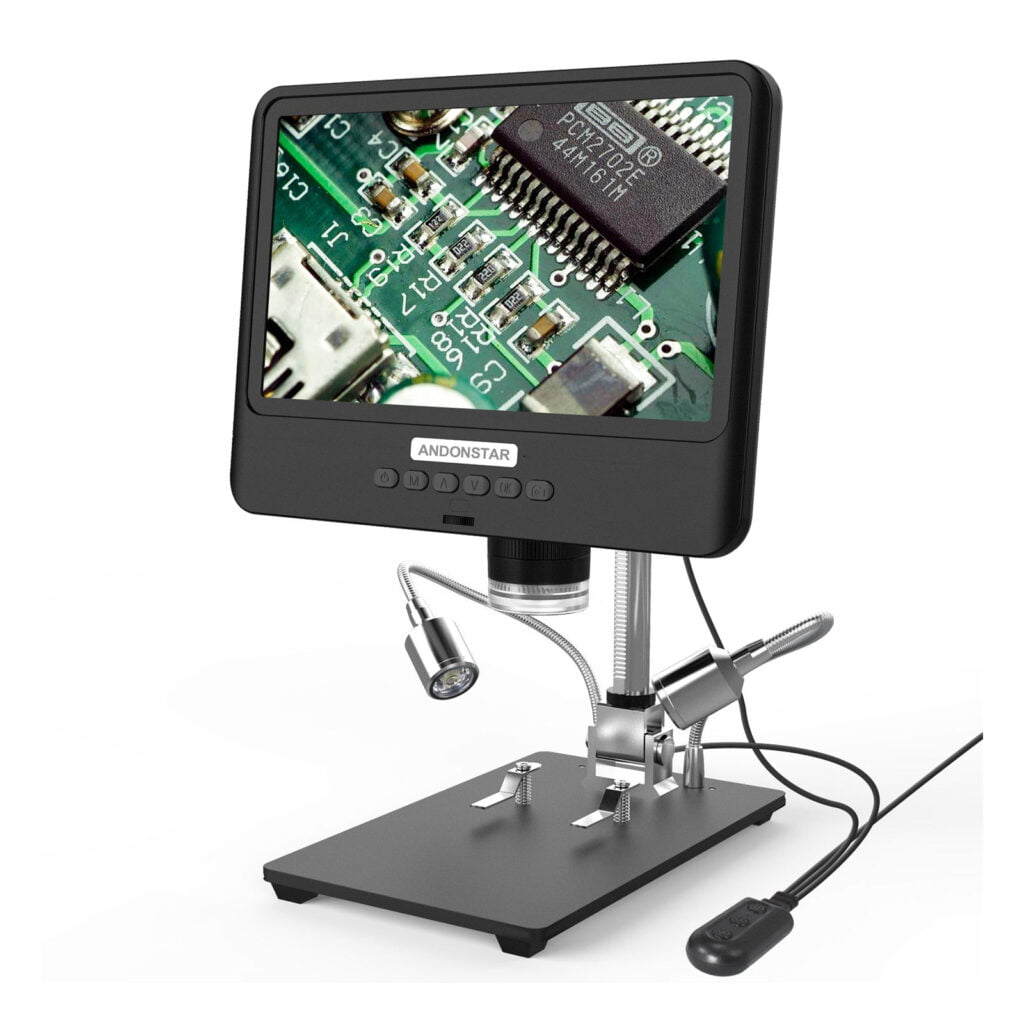
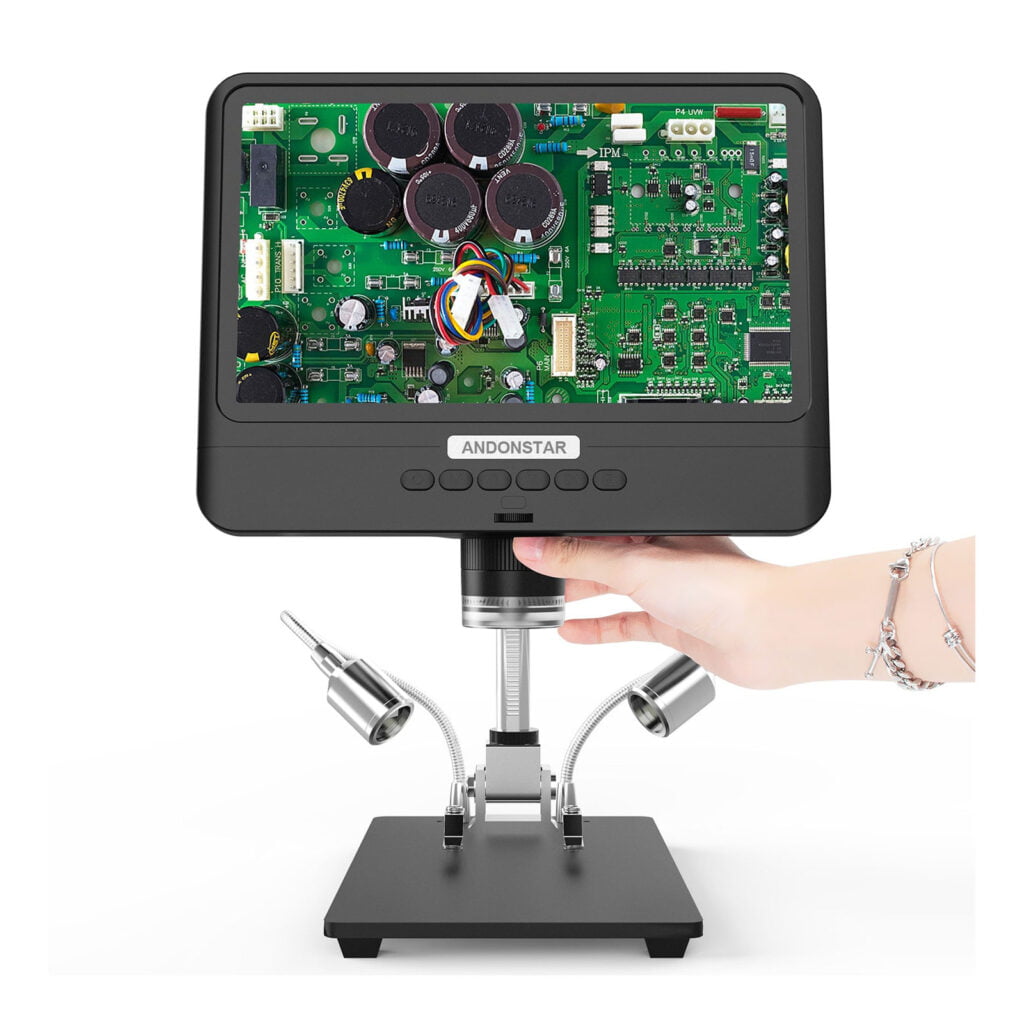
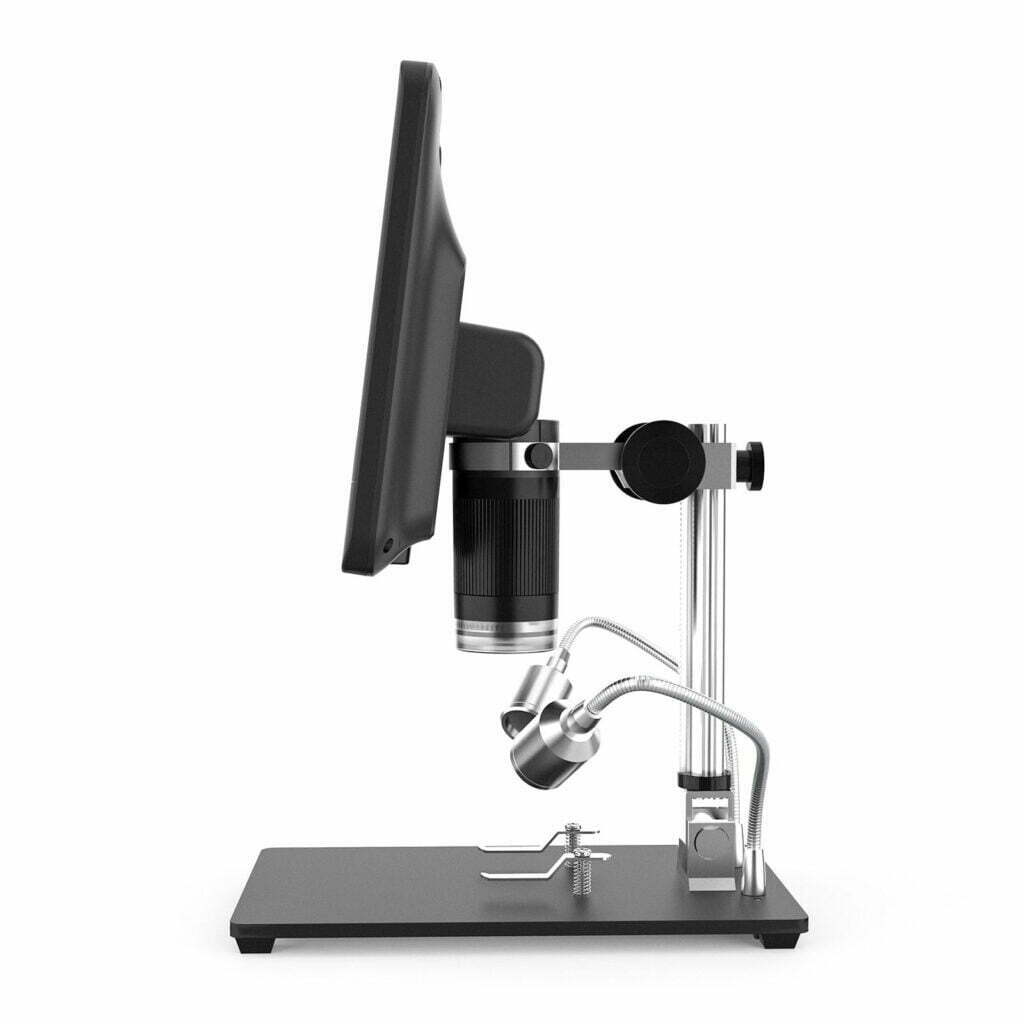


Features

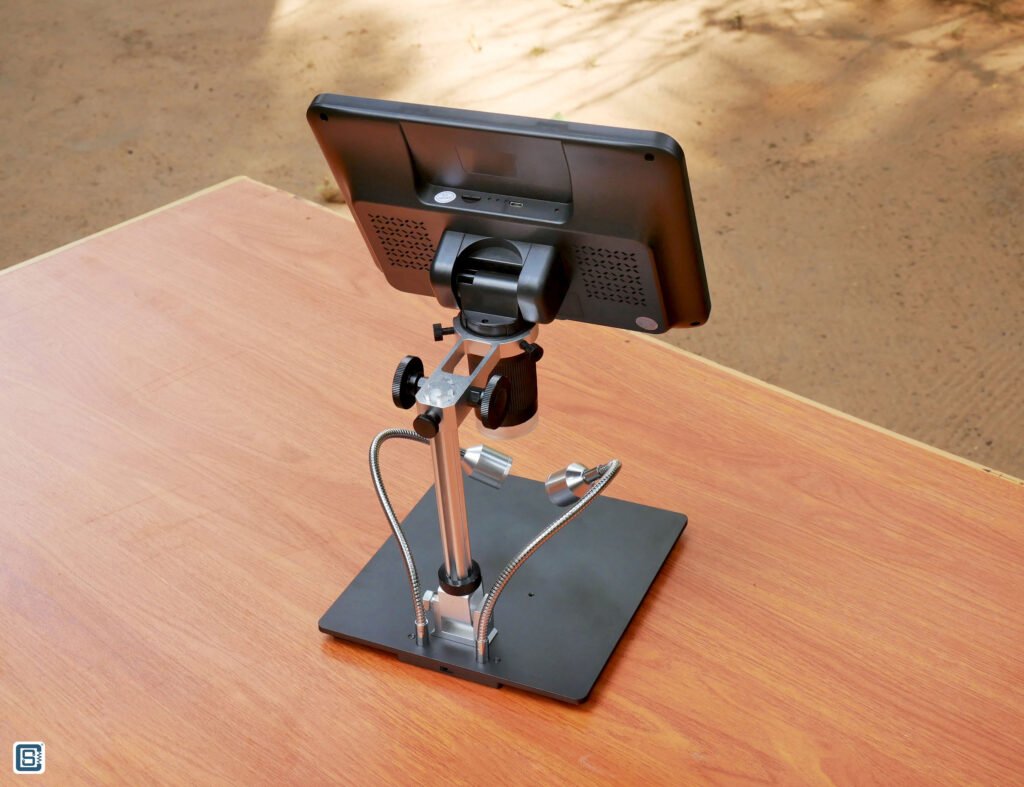
- 2 MP image sensor with manual focus adjustment.
- Multiple manual adjustment options including vertical and tilt.
- Vertical adjustment of around 16 cm.
- Large 8.5 inch (diagonal) LCD screen with good colors and viewing angles. LCD brightness is adjustable.
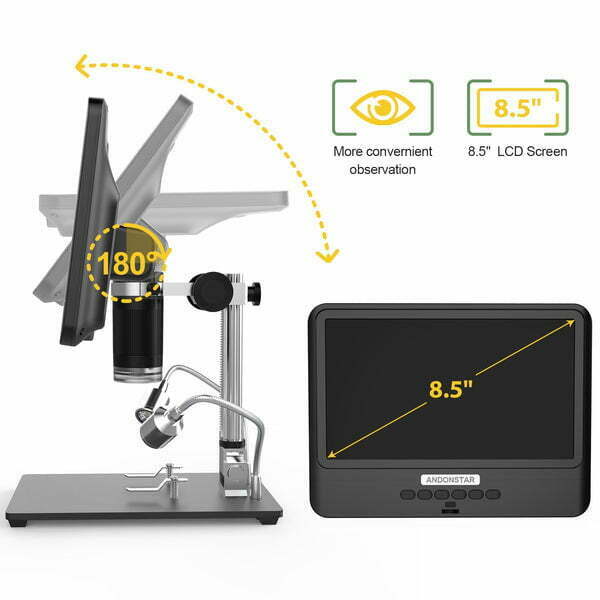
- The display can be tilted to around 180° angle, without changing the lens angle.
- The metal stand holding the display can tilt to almost 180° angle.
- The microscope base plate can hold two spring-loaded clips to hold specimens/PCBs in place.
- Two adjustable LED floodlights with 8 LEDs in each. LED brightness is adjustable.
- Ring LED light around the lens for vertical lighting. LED brightness is adjustable.
- Micro-SD card slot for saving images and video.
- Micro-USB input for power.
- Digital zoom support.
- Additional power supply option with 18650 Li-Ion battery socket (external lights don’t work on battery).
- Multiple image processing modes; Black & White, Negative and Grid Lines.
- IR remote support (though limited).
- Support 12 languages: Simplified Chinese, Traditional Chinese, English, Japanese, French, German, Korean, Portuguese, Spanish, Russian, Thai, and Vietnamese.
Specifications




| Property | Value |
|---|---|
| Material | ABS Plastic + Metal |
| Image Sensor | 2 MP |
| Video Resolutions | 1920 x 1080 30 FPS, 1440 x 1080 30 FPS, 1280 x 720 30 FPS |
| Video Format | AVI |
| Magnification | 5X-260X |
| Image Resolution | 12 MP interpolated (4032 x 3024) |
| Image Format | JPG |
| Focus Range | 10 mm – 160 mm |
| Frame Rate | 30 FPS |
| Storage | Micro SD Card |
| PC Support | No |
| Power Source | USB 5V / 18560 Li-ion Cell |
| Battery | 18650 Li-Ion, 2200 mAh |
| Display Size (Diagonal) | 8.5 Inch |
| Display Resolution | 1280 x 800 Pixels |
| HDMI | No |
| IR Remote Support | Yes, limited |
| Stand Size | 200 x 190 x 120 mm / 7.9 x 7.5 x 4.7 in |
| Base Plate Size | 195 x 180 mm |
| Package Size | 295 x 260 x 145 mm / 11.6 x 10.2 x 5.7 in |
| Package Weight | 1650 g |
In The Package
- 1 x Microscope
- 1 x Stand
- 1 x USB Cable
- 2 x Clip
- 1 x User Manual
Build Quality


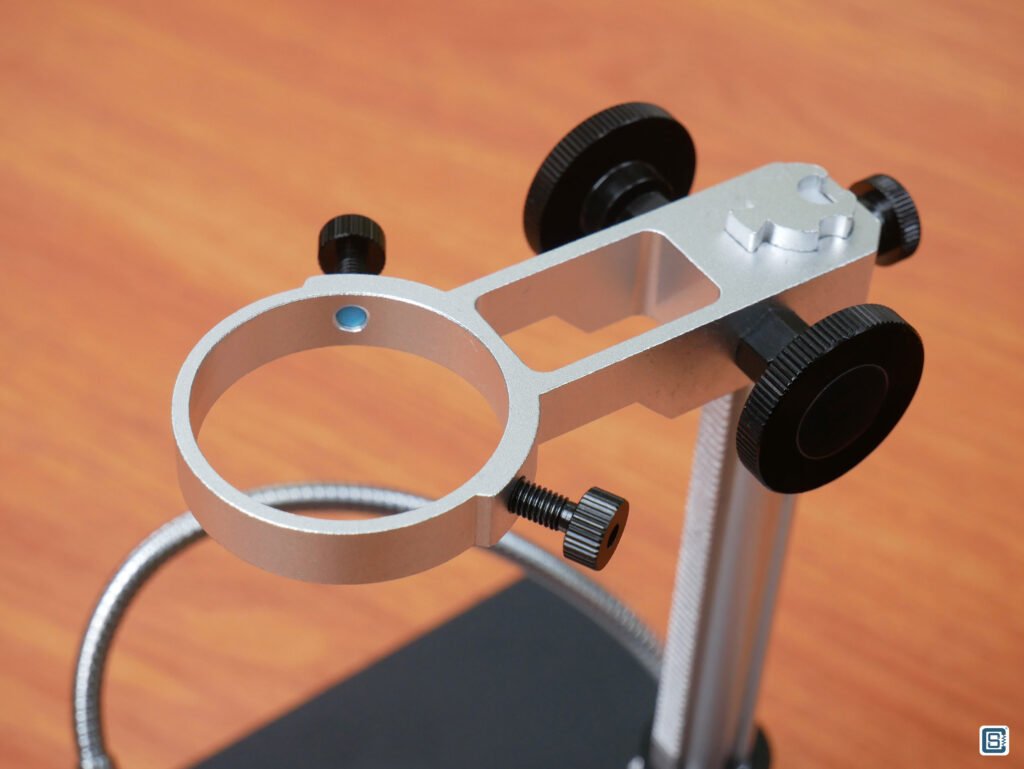
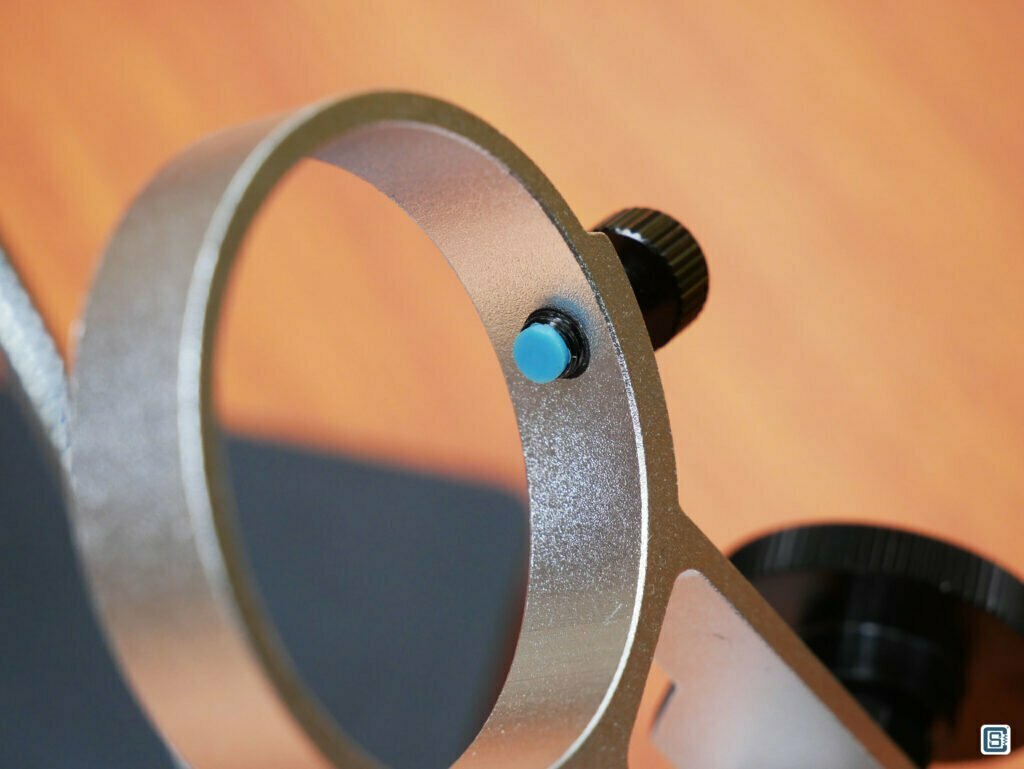
Just like any other Andonstar product, the AD208 has a decent build quality that you wouldn’t complain about. ABS is used for mostly all plastic parts according to the manufacturer, which is good. The molding quality, finish, and fit are acceptable. There are no unintended gaps, flex, or creek. Everything is assembled with care. The metal parts are what we liked the most. All metal parts are perfectly machined with tight tolerances. We couldn’t find any loose or size-incompatible parts. The metal parts are also finished with good sand-blasted textures and a shiny paint job.
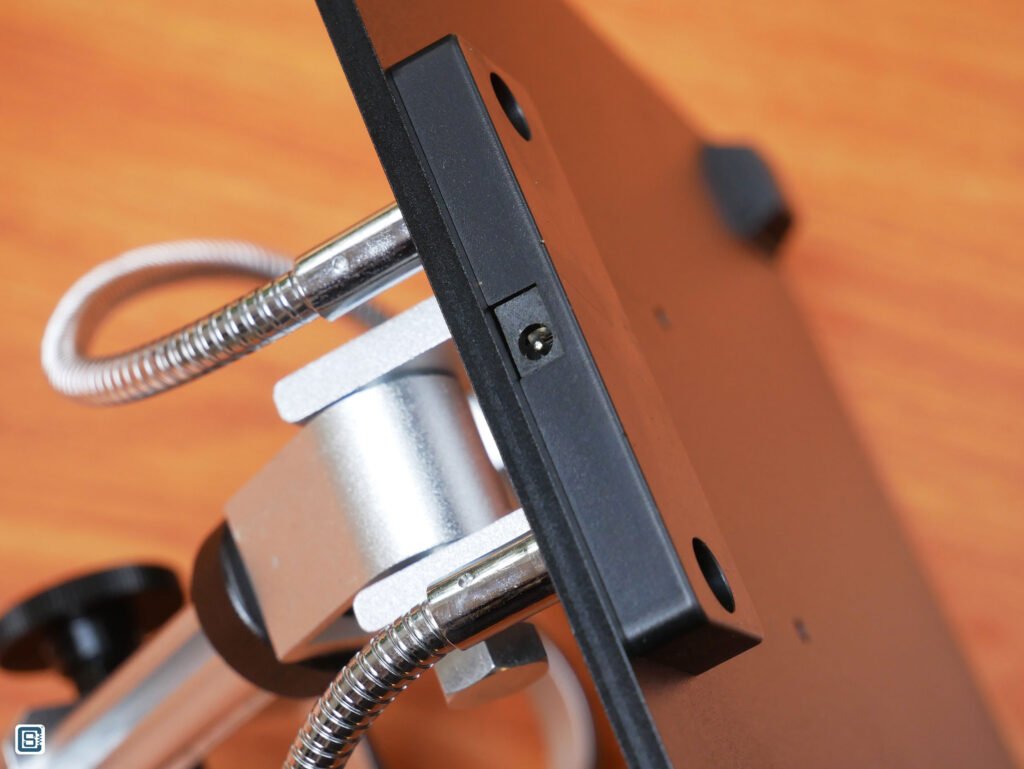

The large base plate is also made of Aluminium with adequate thickness. The bottom of the plate has four rubber feet that prevent the microscope from sliding. The cables provided are long enough and flexible and you will have no problem routing them. There are two mounting holes for fixing two spring-loaded clips which you can use to hold specimens or PCBs in place.
Ergonomics


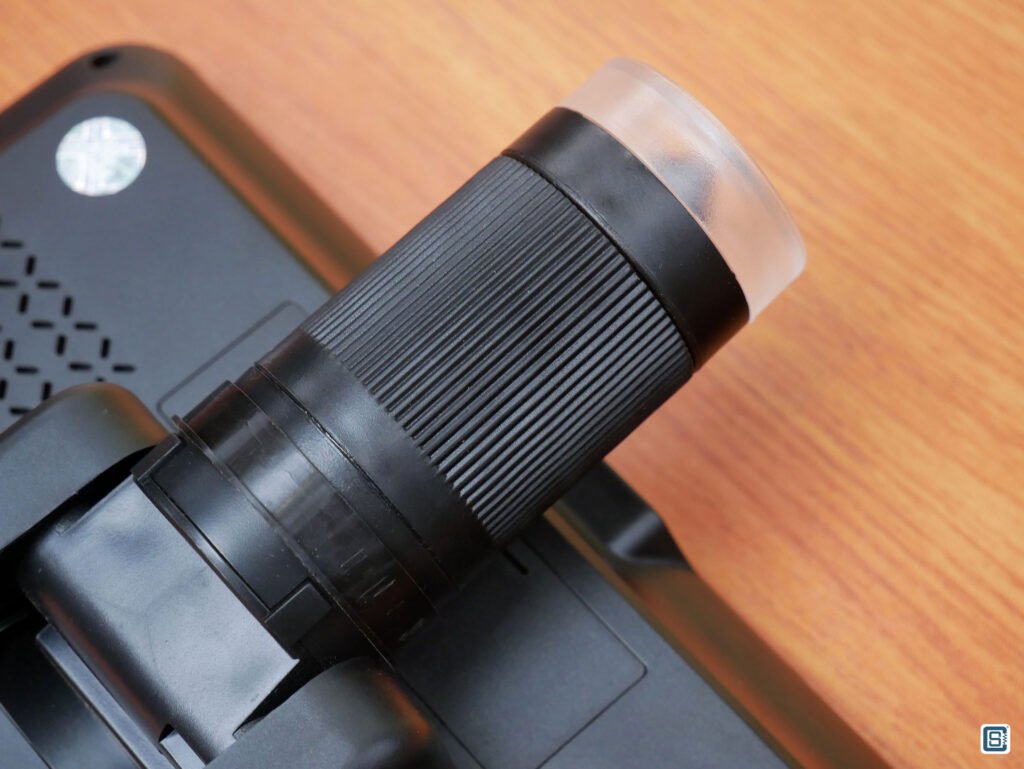
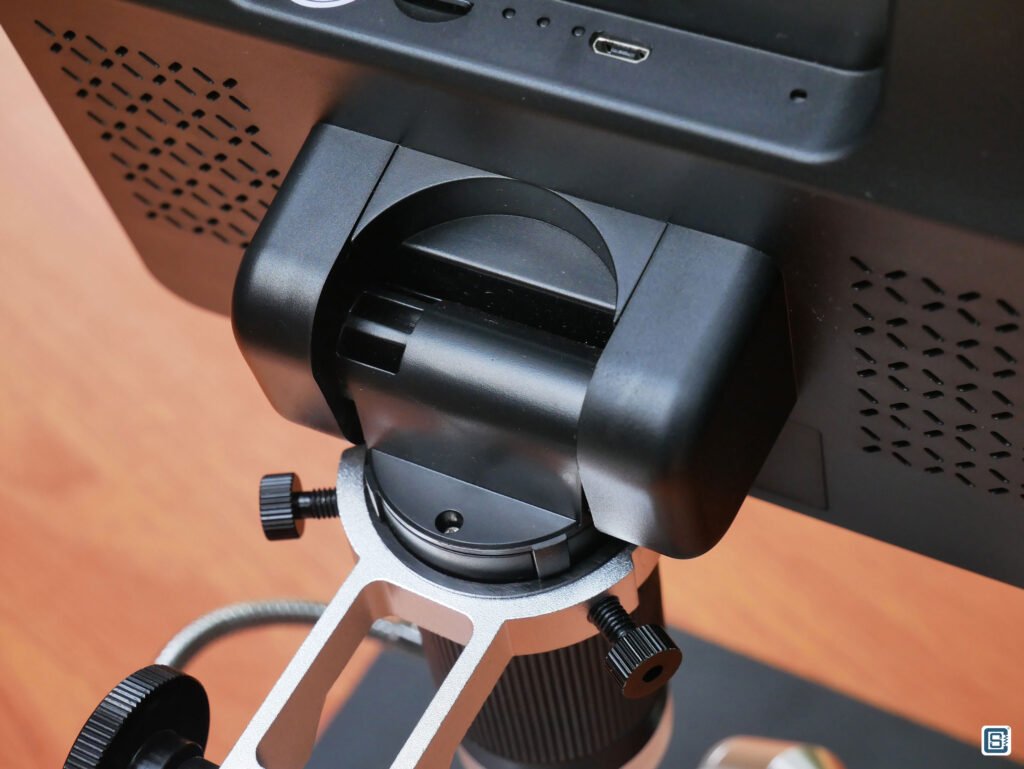
The ergonomics are also excellent when it comes to AD208. We especially liked all the adjustments the scope has to offer. The display is tiltable to a maximum of 180° angle independent of the rest of the body and stand. The display and the lens are connected via a single hinge mechanism which allows the tilting of the display while keeping the lens fixed on the subject. So no matter if you are short or tall, sitting or standing you can adjust the display to get a perfect view of your subject.

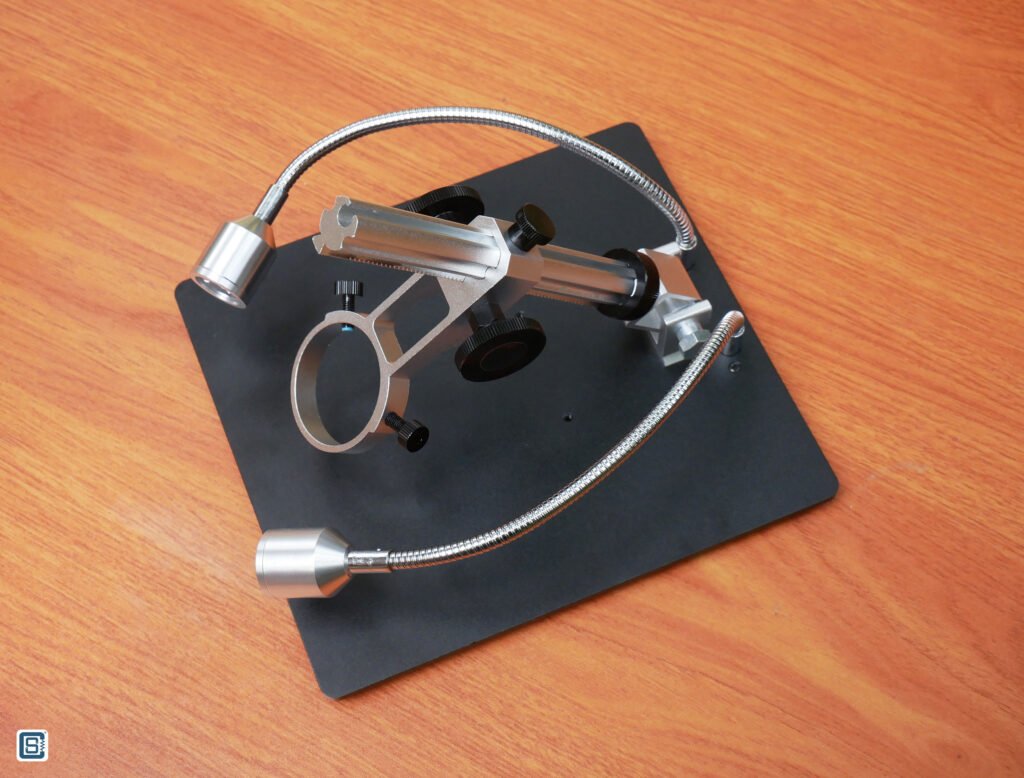
The next adjustment type is vertical up and down of the entire scope holder. A metal rail along with symmetrically placed adjustment wheels allows the lens to get closer or further from the subject. This is essentially the zoom/magnification function of the scope. Using either the left or right hand, you can adjust the height by rotating the adjustment wheels. You can also set the tension or tightness of the rail using another smaller screw found on the back of the rail. The vertical adjustment system gives you a maximum of 14 cm travel. That’s actually more than enough when you are soldering components on a PCB and looking at it through the display at the same time. You will have enough clearance and magnification to get the job done.


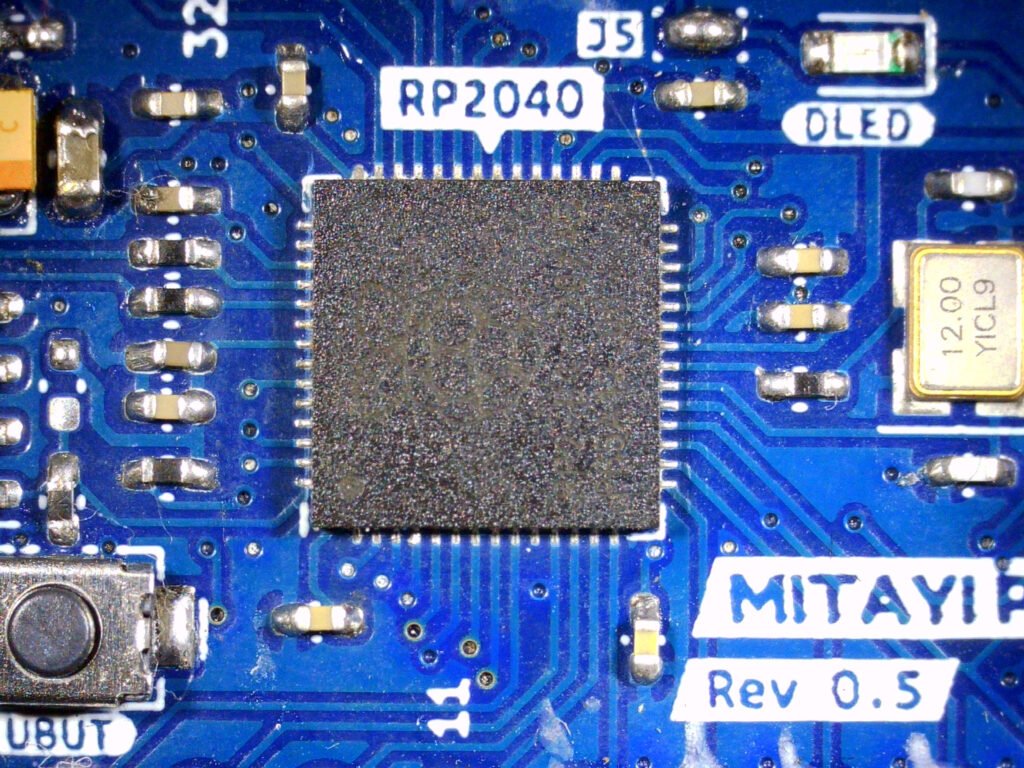
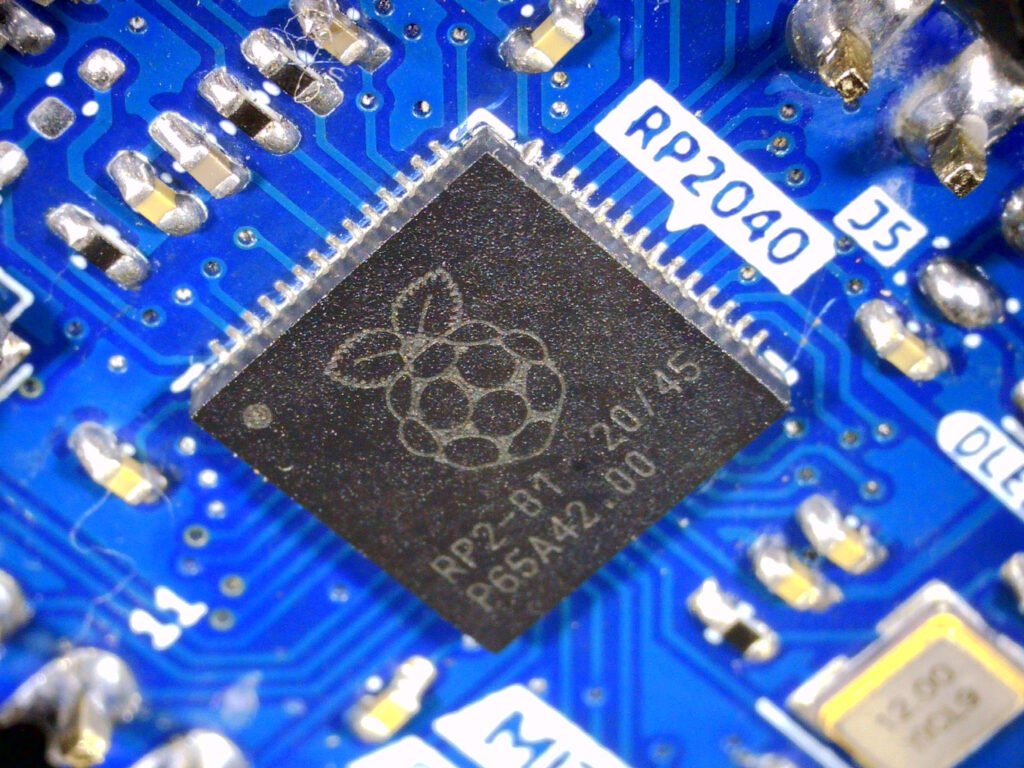
The next type of adjustment is the tilting of the entire microscope stand with respect to the base plate. We have seen microscopes like the ADSM301 from Andonstar which only has the option of vertical adjustment. The problem with viewing your PCBs vertically is that you will only get the top view or an orthographic view of your PCB. This can prevent you from seeing the sides of the components on a PCB. SMD components usually have their pads/pins on the sides of the package. For example, in a QFN-64 package, if you can’t get a side of the component, then you can’t tell if the component pads are properly soldered or not. This happened to me when I tried to solder an RP2040 on a Mitayi r0.5 board. I had to manually rotate the PCB holder to see if the pins were soldered correctly, which was very annoying to do. Luckily, with the AD208, I can simply tilt the upper section of the scope and get an isometric view of the component I am looking at. Look at the comparison between the pictures below.
There are three lighting units on the scope. One is a ring LED light inside the lens unit. The brightness of this LED light is adjustable via a control wheel on the body of the scope. The light is good enough to illuminate close subjects. But sometimes it can generate an unwanted reflection on some subjects like a PCB. You can see a sample image below.

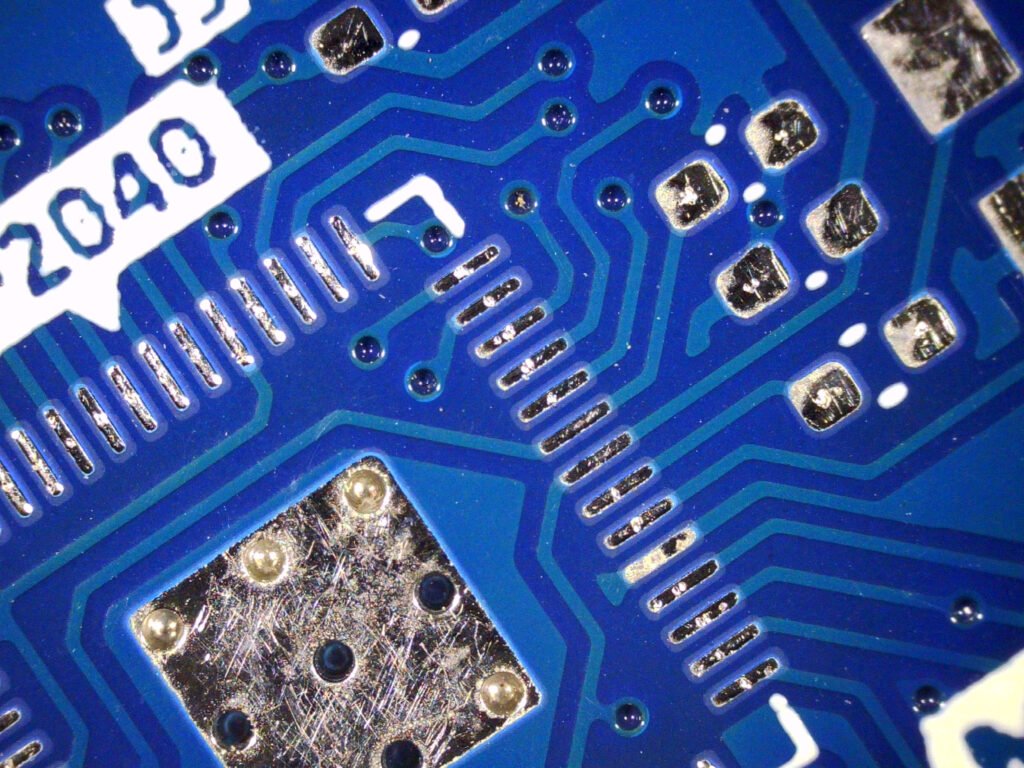
You can turn off the ring light to prevent such reflections, or change the lens angle. The lens unit on AD208 does not have any kind of filter, unfortunately. More expensive scopes come with UV filters that prevent unwanted reflections and also protect the main lens from accumulating dust. When the ring light is not enough, you can turn on the small floodlights. There are two units, sitting on either side. Each of them has a single powerful white LED that directs the light in a single direction. You can adjust the lights to whichever positions you like.


Operation
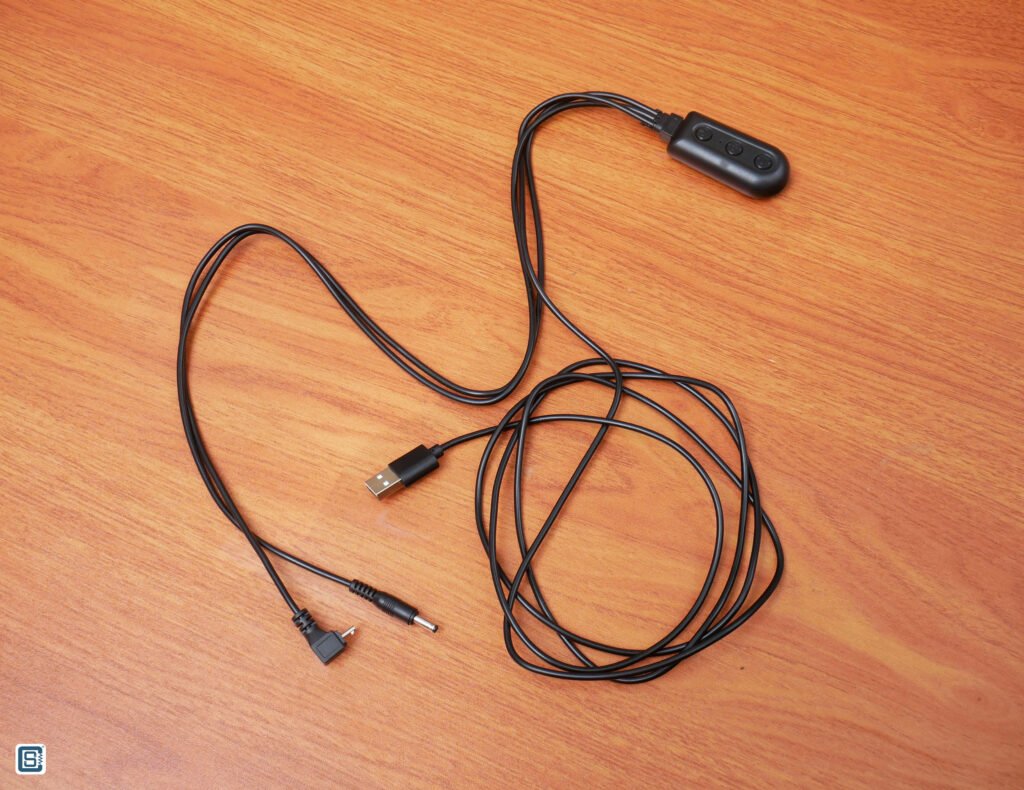
The AD208 needs a single 5V supply to work. You can use any standard USB adapter such as your phone’s charger. The microscope did not come with an adapter so we used the AMX USB adapter. At the other end of the USB cable, we have a DC barrel jack and a Micro-USB connector. The DC barrel jack is for the floodlights. The right-angled Micro-USB can be connected to the scope. The power can be turned on/off by pressing the power button on the small in-line module attached to the cable harness. It also has two more push-buttons to increase/decrease the intensity of the floodlights.


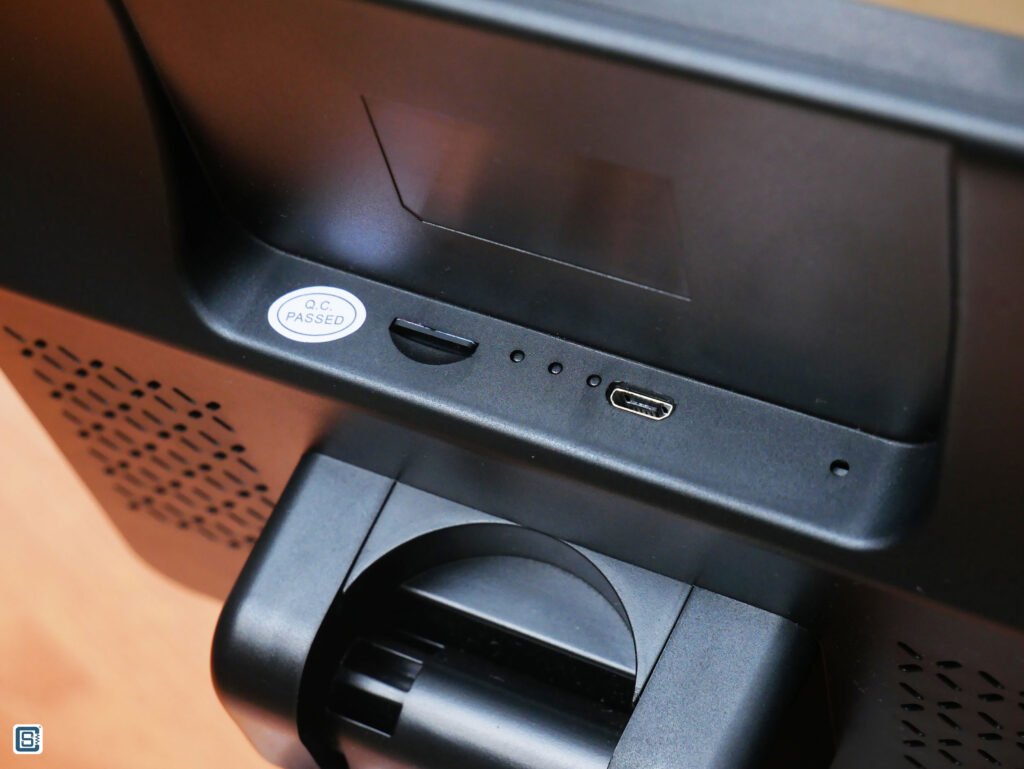
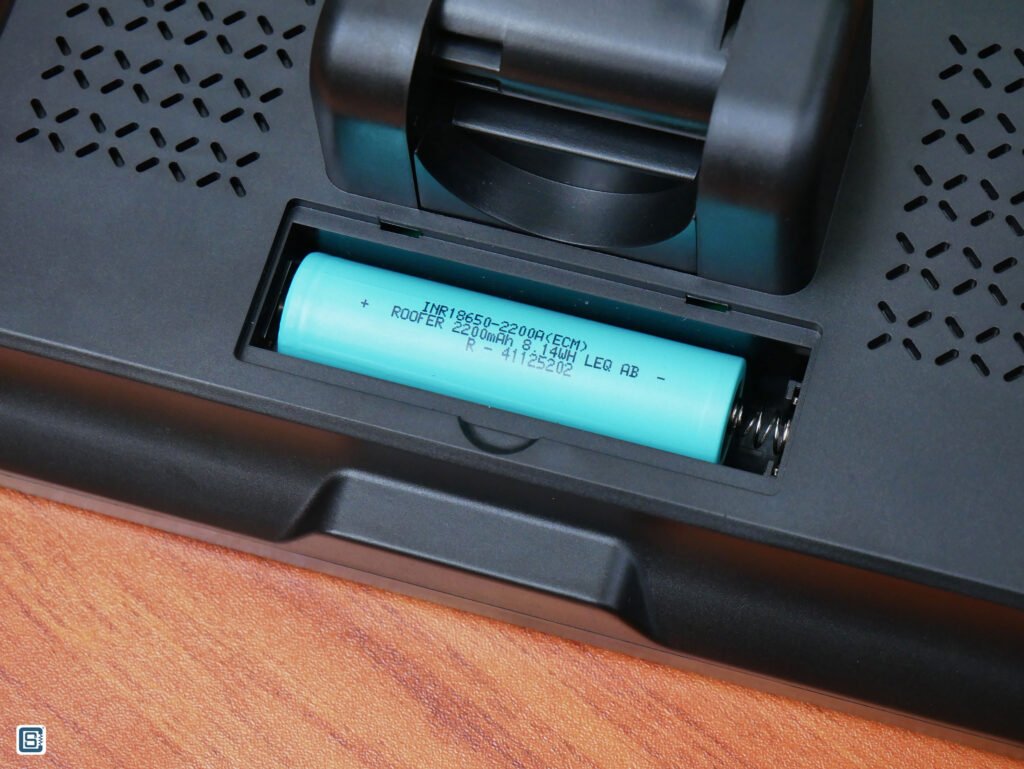
The second method for powering the microscope is using a single 18650 Li-Ion cell. There is a compartment for the battery. Our unit did not come with a battery and so we used a generic 18650 2200 mAh cell. The cell we used had a flat positive face, due to which the cell’s positive terminal did not touch the connector on the scope body. We had to use a small piece of a metal clip to complete the connection. The microscope will turn on as soon as you connect the Micro-USB with power. It doesn’t remember its power ON/OFF state. You can turn it off by pressing and holding the power button on the front of the scope. A single press will turn it back on. The scope will enter video mode as soon as it is turned on. It also doesn’t remember the mode after a power cycle.


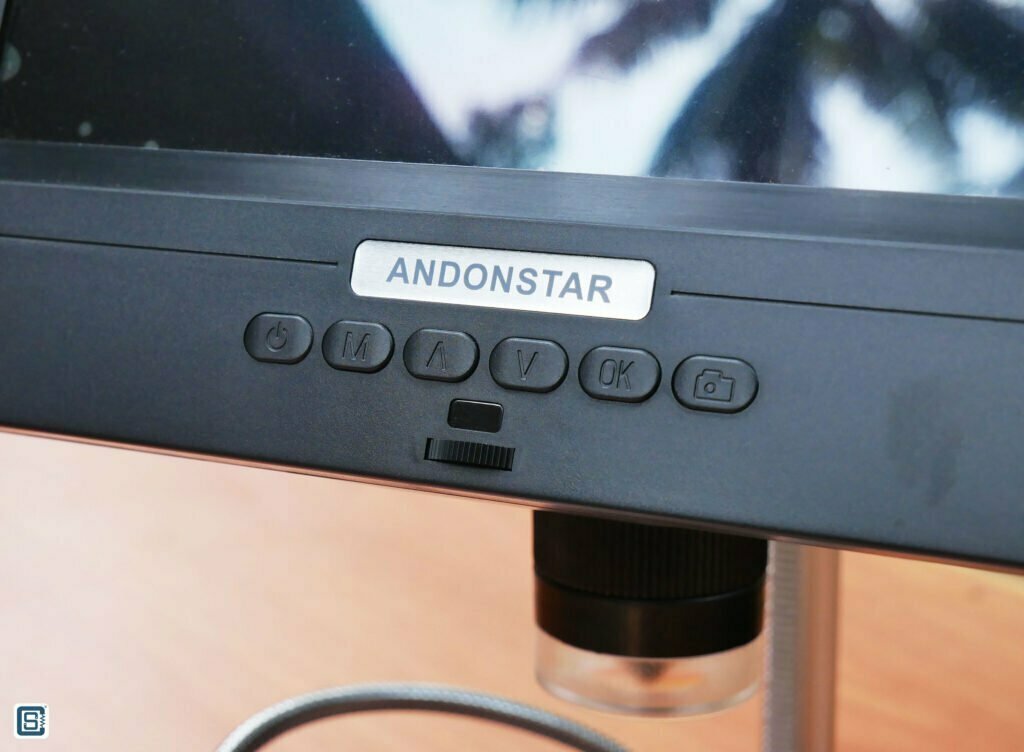
There is an array of six push-buttons on the front of the scope. The first one is the power button. The second labeled M will cycle through the different modes like image, video, replay, and settings. The next two buttons are direction control buttons ^ and ˅. They can be used to navigate through menus, decrease/increase values, etc. They can be also used for digital zoom in/out. The next button is an OK button which can start video recording in video mode or capture an image in image mode. The next button has a camera symbol labeled on it. It has multiple functions based on which mode you are in. If you are in image mode, it will capture an image. But if the video recording is active, pressing the camera button will capture a screenshot.
Accessing the settings can be done by pressing and holding the M button. Depending on which mode you are in, you will get different menu items. You can use the navigation buttons and the OK button to save the settings. Just below the buttons, there is an IR receiver and a wheel for adjusting the brightness of the ring light. Andonstar AD208 supports IR remote but did not come with one. Fortunately, we already have an Andonstar remote which we got with the ADSM301 microscope. That remote works with the AD208 but the functions are limited. Maybe that’s why Andonstar is not advertising this feature in specs. You can do everything and more with the remote very quickly, such as adjusting the sharpness, quality, etc. We recommend you also get a remote if you plan to purchase the AD208.


There are a few functions in the remote that you can’t find on the main settings. These include screen freeze which freezes the view to a static image, negative image, black & white view, grid lines, etc. But you can not save the images or videos with these effects to the SD card. Recording any image or video requires a micro SD card of capacity up to 32 GB. We used a 16 GB card from Sandisk. You can still use the scope without an SD card but you won’t be able to save anything. There are no HDMI outputs and so you can’t connect an external monitor.

The Andonstar AD208 has a fixed and manually adjustable focus system. You can adjust the focus by turning the focus right either way. The focus ring is very smooth to operate and has enough area to get a grip even without looking.
It is never mentioned anywhere what kind of display it is. But it has very good colors and viewing angles which makes me assume it is an IPS panel. The last thing you want on an adjustable digital microscope is a terrible display with bad viewing angles. Andonstar did it right. The display is 8.5″ diagonally and is large enough to work comfortably. The resolution of 1280 x 800 pixels resolves enough details on the screen and you will have no trouble spotting even the tiniest speck of dust.
Sample Images
Now let’s see how good the image quality is. The image sensor has a maximum pixel resolution of 2 MP which equals to around a single 1920 x 1080 pixel image. Any larger image or video has to be produced by upscaling and any smaller images by downscaling. The 2 MP sensor is pretty enough for capturing Full HD video but it is not enough for images. The Adnonstar AD208 can actually save images with resolutions up to 12 MP (4032 x 3024 pixels). But as we said earlier, this is accomplished via upscaling. You will not get any more details than from the 2 MP image. There is also noticeable noise in both the image and video. Still, the images look decent for the specs. You can view a few sample images below and you can also download the raw images as a ZIP file.


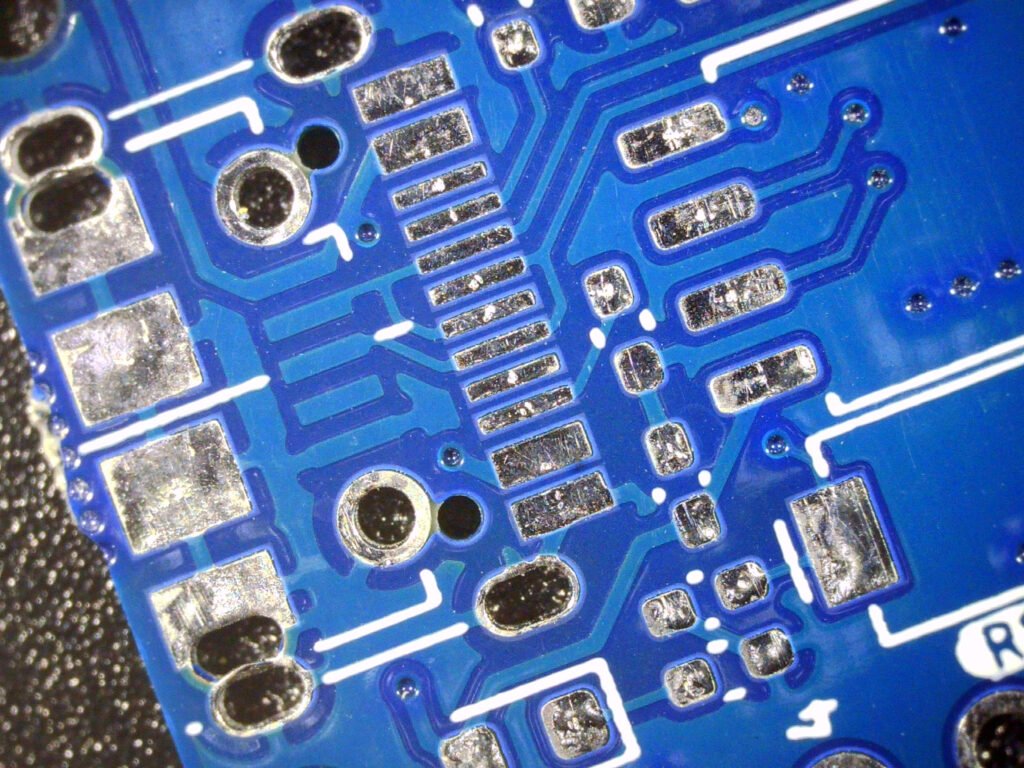

A thing that is very important when working with a camera like a digital microscope is how well it can adjust the exposure (Dynamic Range) of objects it is seeing. You can have both a well-lit and bright part on a subject and at the same time, some parts can be very dark. Ideally, we should be able to see both parts almost equally, just like ours does. But the quality of a camera system can determine how well it can do this. The Andonstar AD208 is not that good when it comes to exposure processing.
Sample Video
The AD208 can record video at a maximum resolution of 1920 x 1080 at 30 FPS which is adequate for most applications. More expensive scopes can record at higher resolutions and frame rates. The recorded video will be in AVI format. The maximum length of a video clip is limited to 1 minute. If you record longer videos, they will be saved as 1-minute clips. You can always combine them in post-production, and so we don’t consider this as a limitation. There is also audio in the recorded video files, but it’s just white noise. We have uploaded a few short video samples for you.
The latency of the direct video feed to the LCD is very small and unnoticeable. That means you would have no issues coordinating a tool such as a soldering iron or tweezer while looking through the screen.
Teardown
We are only going to show you the inside of the main body. We are not going to disassemble the entire product including the lens assembly. That is because lens assemblies can be delicate and once you open them without referring to a proper manual, things might not go back to their places as we might expect. At least seeing the PCBs and wires is satisfying to many.
The main body is a two-piece plastic withheld using a few Philips screws and snap-fitted. Separating the two pieces will reveal the main PCB, daughter PCBs for the IR sensor and brightness control, and the LCD with FPC on both ends.


The main PCB exposes a reset button, three LEDs (or two?) Micro-USB connector, Micro-SD card socket, and a 3.3 mm jack. We don’t know what the function of the 3.5 mm jack is and it is not mentioned anywhere on the specs sheet. It could be a mic input or an headphones out. You can also spot a small microphone on the main PCB, but we were not able to record any audio.
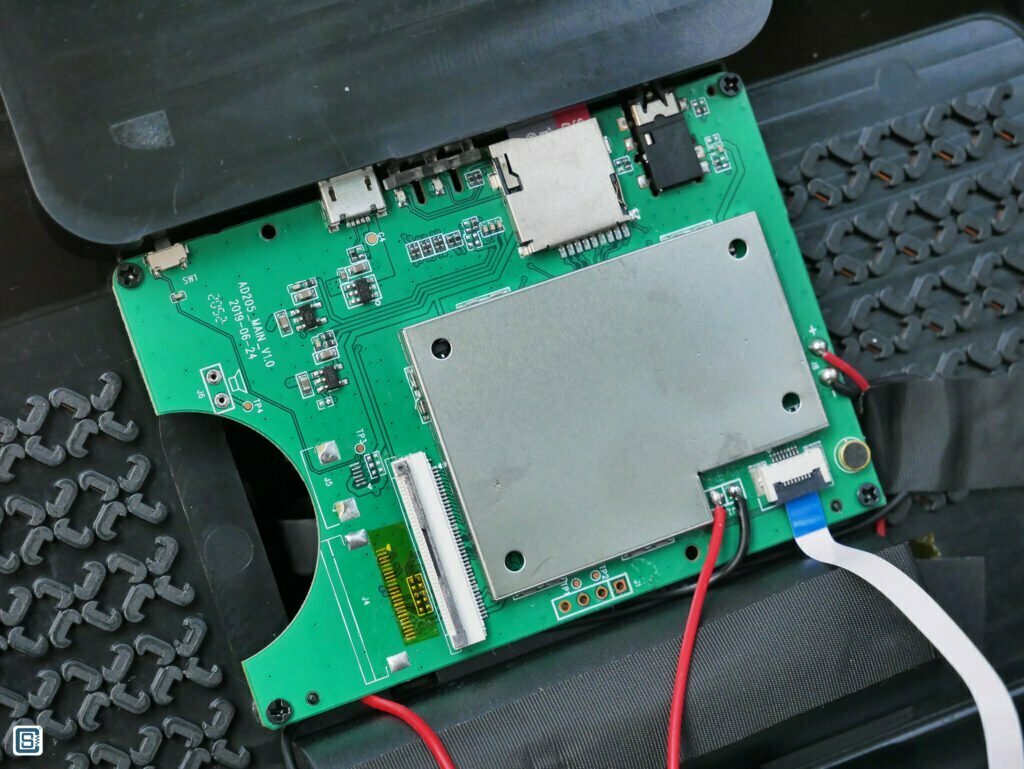
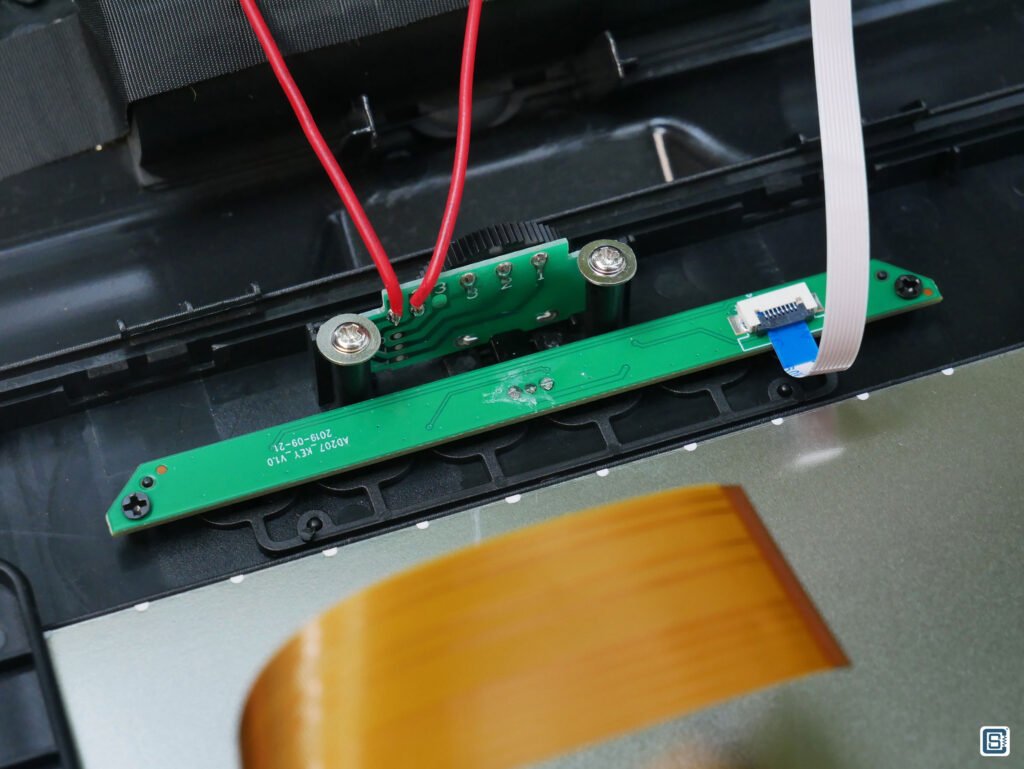
The main processor and other circuits are hidden inside a metal shielding that is soldered to the board. We assume this is to prevent interferences as well as a means of heat dissipation. Anyway, we won’t be touching them.
Verdict
We bought the AD208 from ThinkRobotics in India and it cost INR 15,000 including all taxes. The price on the official Andonstar website is around USD 179 which is close to the 15K we paid. But does the AD208 worth that price, is the price reasonable? Well, let’s list the pros and cons first.
Pros
- Large 8.5 inch LCD with good brightness, colors, and viewing angles.
- 10 – 160 mm focus adjustment.
- Great ergonomics with multiple adjustment options.
- 18650 battery support with USB charging.
- Large base plate with metal clips.
- Good build quality.
- IR remote support.
- Full HD 30 FPS video recording.
Cons
- No HDMI output.
- No PC support.
- Not so great image processing.
- Did not come with a remote or battery.
Andonstar is not the only manufacturer that makes these kinds of digital microscopes. In fact, there are other companies such as LINKMICRO who makes microscopes that are near-identical to the models from Andonstar. There are also no-name Chinese clones (cloning designs and ideas is a culture in China) that you can find at sites like AliExpress.
You should also consider checking out other types of digital microscopes if you plan to get the best results for what you pay. For example, the 4KCF is a camera sensor from a manufacturer called RF4, and it can shoot high-quality 4K video at 30 FPS and FHD video at 60 FPS. It has excellent image and video quality and connectivity options. You can get it for INR 10K from G2Mark. But since it is a camera sensor only, you need to also buy a suitable lens and stand system such as the RF4 RF7050TVP which is sold for INR 16K. There are also complete microscope sets like the G2MARK RE-100 that come with an external display. But if you don’t want to go through all those extra hassles and want something that works out of the box, then the AD208 is a good choice. It is a great standalone and functional digital microscope with a decent build quality and acceptable image quality.
If you want genuine Andonstar microscopes you can buy them from the official stores listed on the official website. You will have to pay shipping charges and customs duties when buying from overseas. If you are in India, ThinkRobotics has an excellent selection of Andonstar microscopes.
Purchasing a digital microscope is an excellent long-term investment in a very useful tool. It will improve your productivity a lot. We hope we have covered all aspects of the AD208 microscope and the information is useful to you. As always, you can share your feedback in the comments.
Links
- Andonstar AD208 – Official Product Page
- Buy Andonstar AD208 in India – ThinkRobotics
- Download Andonstar AD208 Sample Images [ZIP]
Short Link
- Short URL to this page – https://circuitstate.com/ad208rev


