SEQURE SQ-A110 Digital Temperature-Controlled Adjustable Soldering Iron – Review & Teardown
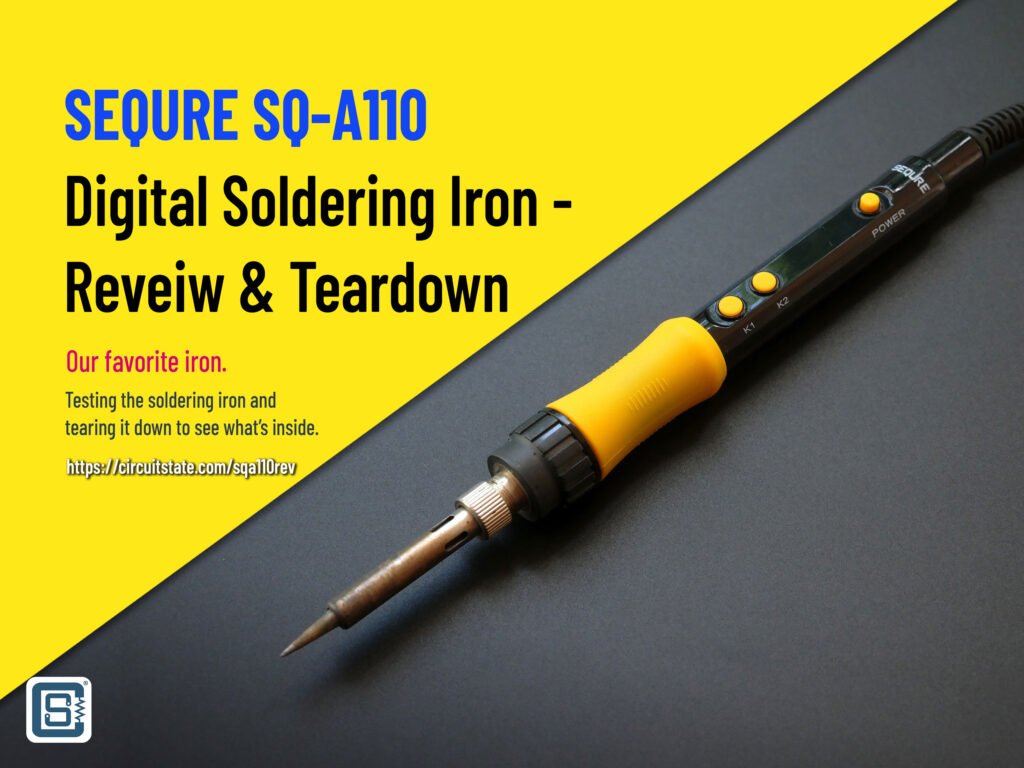
We have reviewed two soldering irons in the past. So you should know what to expect from a review and teardown of a new soldering iron model. Today we are going to review and teardown the SEQURE SQ-A110 Hakko 900M-compatible digital temperature-controlled soldering iron. Even though we have a few other types of soldering irons with us, the SQ-A110 has become our favorite and is now our go-to iron. We will explain why further down. If you haven’t heard of the SEQURE brand before, it is a Chinese tech company (Guangdong Sequre Technology Co., Ltd.) that produces soldering tools and related accessories. Their products are mainly aimed at RC hobbyists and professionals. We bought the SQ-A110 from DRKStore, an RC and FPV-focused online store based in Kochi, Kerala. There is a huge difference between good branded Chinese products and other no-name Chinese products. We will explain why. But let’s look at the specs first.
Specifications
| Specification | Value |
|---|---|
| Power Supply | 220V, 50Hz / 110V, 60Hz |
| Power Consumption | 110 W |
| Temperature Range | 100~500 °C (212~932 °F) |
| Temperature Sensor | Yes |
| Tip Type | Hakko 900M-T |
| Earthed Tip | Yes (2 Ω) |
| Tip Potential | < 2 mV |
| Controller | STM8 |
| On/Off Switch | Yes (Mechanical) |
| Auto-Sleep | Yes |
| Motion Sensor | Yes |
| Celcius/Farenheight Display | Yes |
| Display Backlight | Yes |
| Temperature Memory | Yes |
| Temperature Resolution | 1 °C |
| Temperature Display Error | ±5 °C |
| Manual Calibration Mode | Yes |
| Cable | 3-Core, 1.3 m |
| Plug Types | EU and US |
| Dimensions (L x D) | 236 x 23.6 mm |
In the Package
- 1 × Soldering Iron
- 1 × 900M-B Tip (Rounded)
- 1 × Basic Soldering Stand
- 2 × Instruction Manual (Chinese and English)
Build Quality & Ergonomics
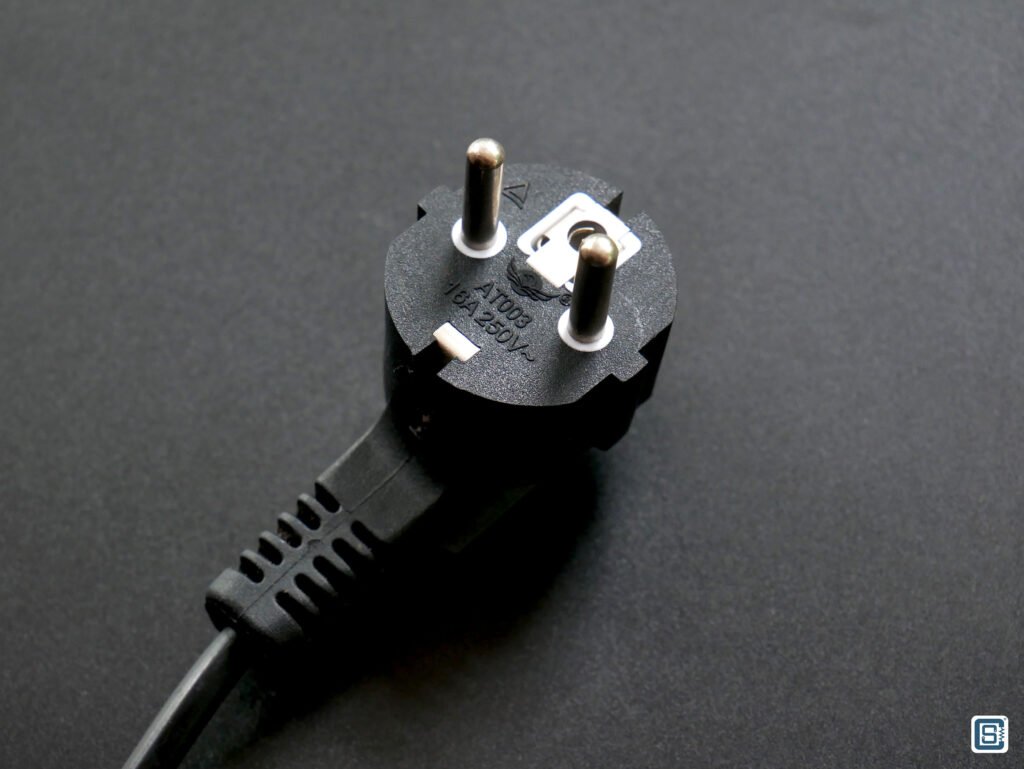
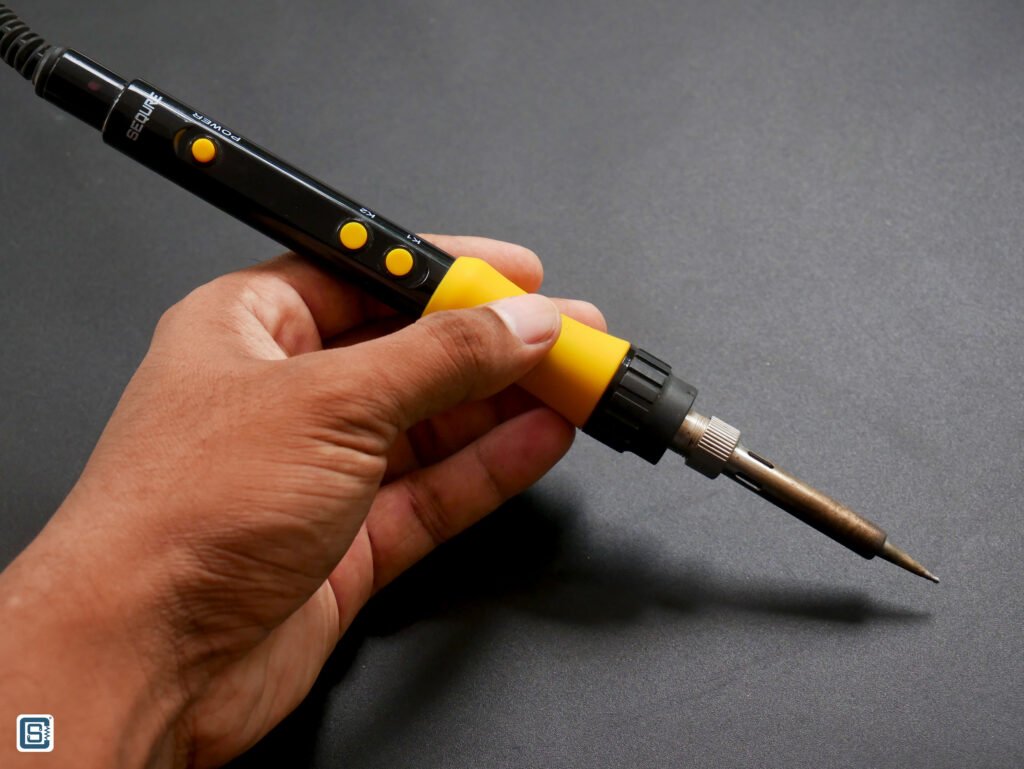
The manufacturer claims industrial-grade specifications and build quality for the SQ-A110 iron. While we did not see any certifications ourselves, the product page has links to CE and FCC certificates that are only accessible if you are a business customer of SEQURE. From our inspection, the iron is made of good-quality plastic, metal, and other materials. It definitely feels rugged enough for industrial use. The cable is a thick 3-core one that can take a beat in a very busy working environment. The cable is securely attached to the main body and a cable gland is present for strain relief. But the heavy cable can be a little annoying especially when you are trying to solder small electronics. The cable is not that flexible and you will need extra force just to orient the iron to a comfortable position. But you can’t have everything at the same time right? Wish the manufacturer used Silicone cable instead.
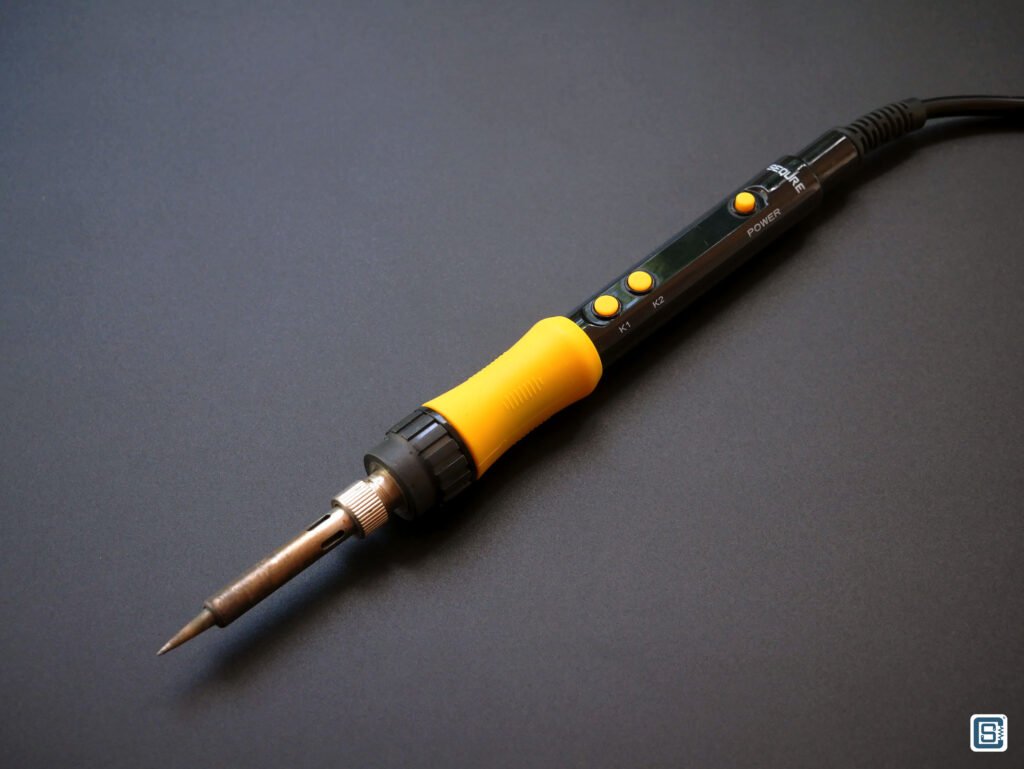
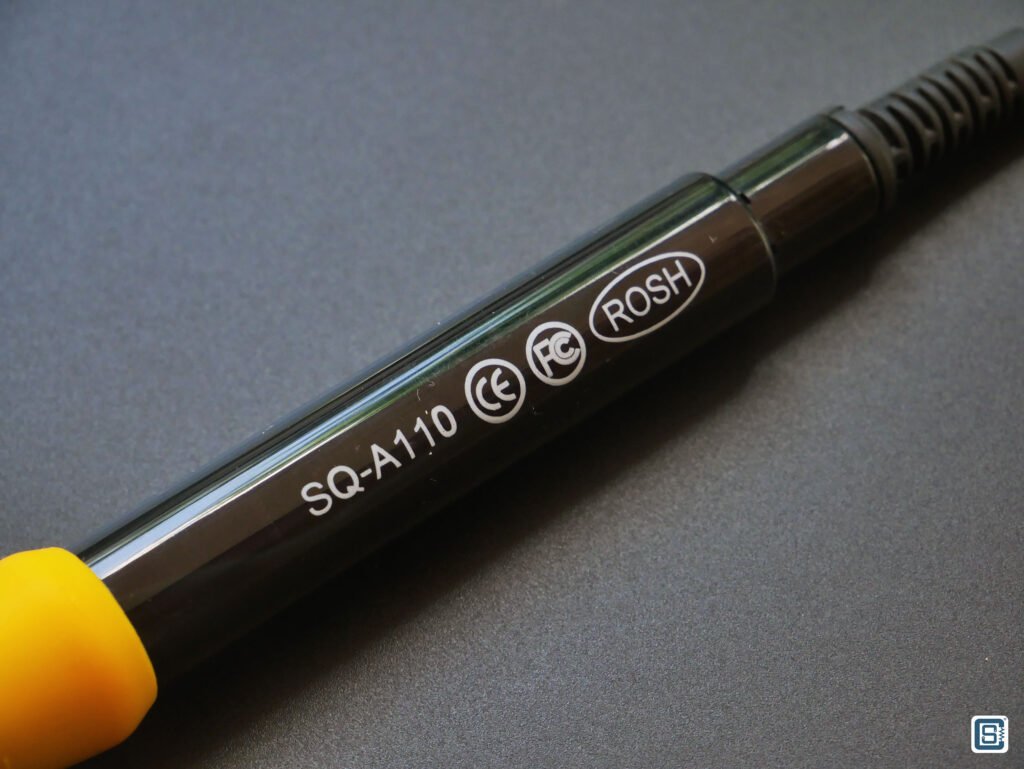
The body is made of translucent plastic and you can even see the internal electronics if tried hard enough. The reason for the translucency is that the body also conceals the 3-digit+ display completely. There are no windows for the display. Instead, you will be able to see the blue color LED segment-display through the body. That also means the display does not need any backlights and it gives the best visibility in all conditions and viewing angles. Thumbs up for that selection.
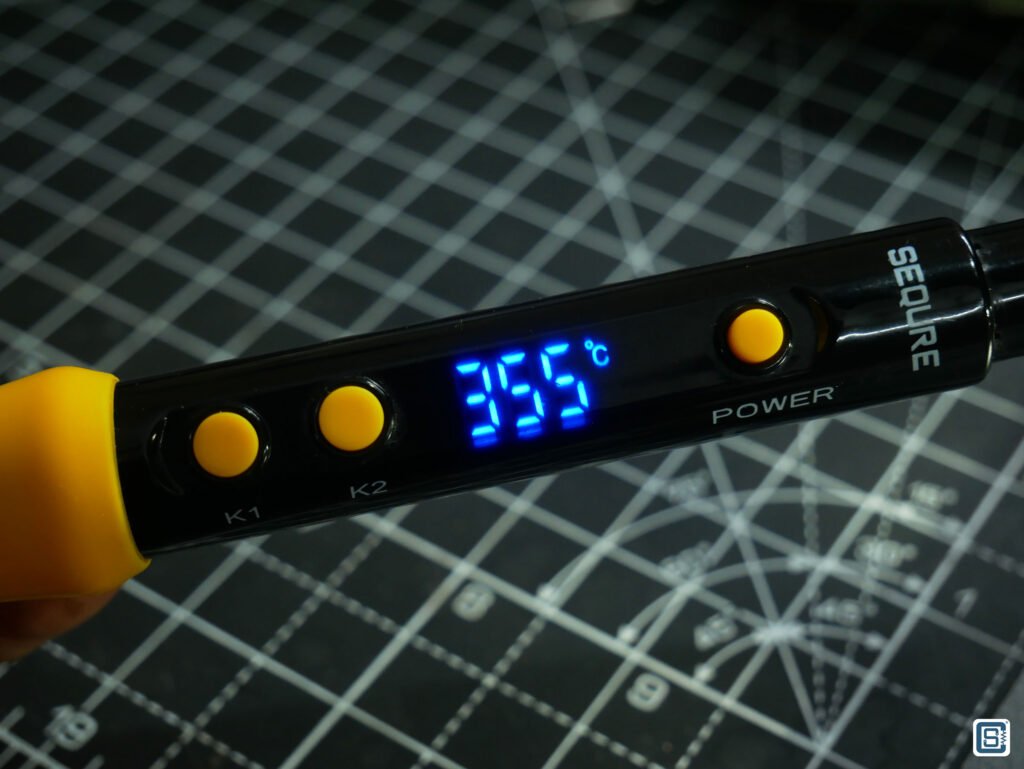
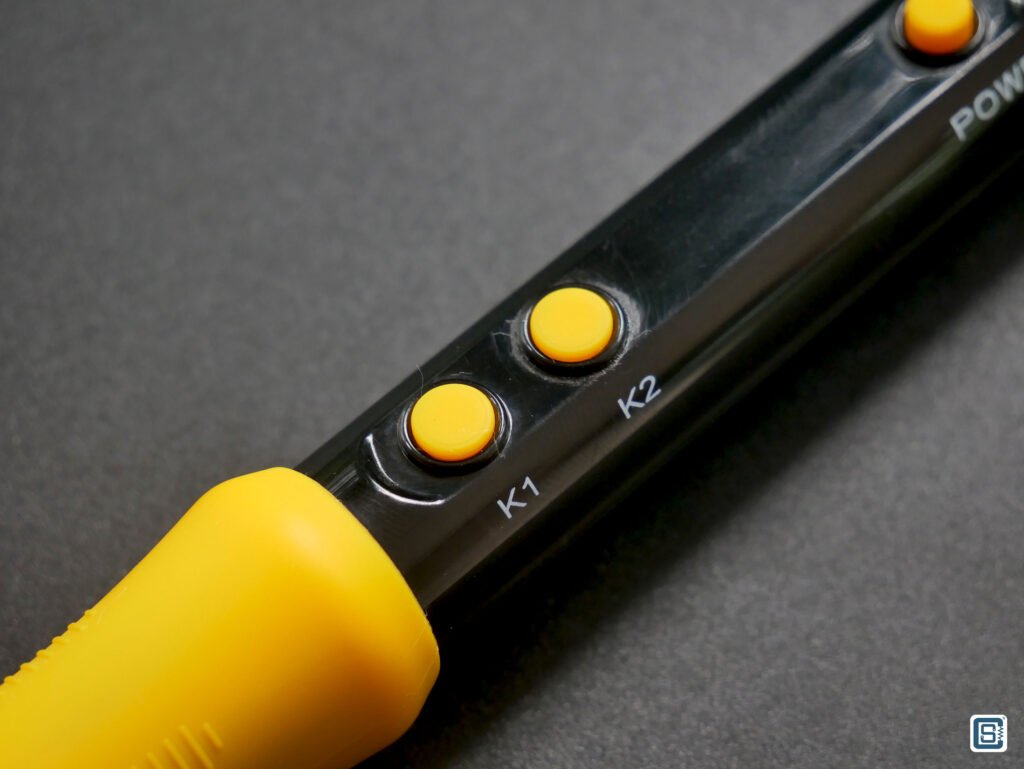
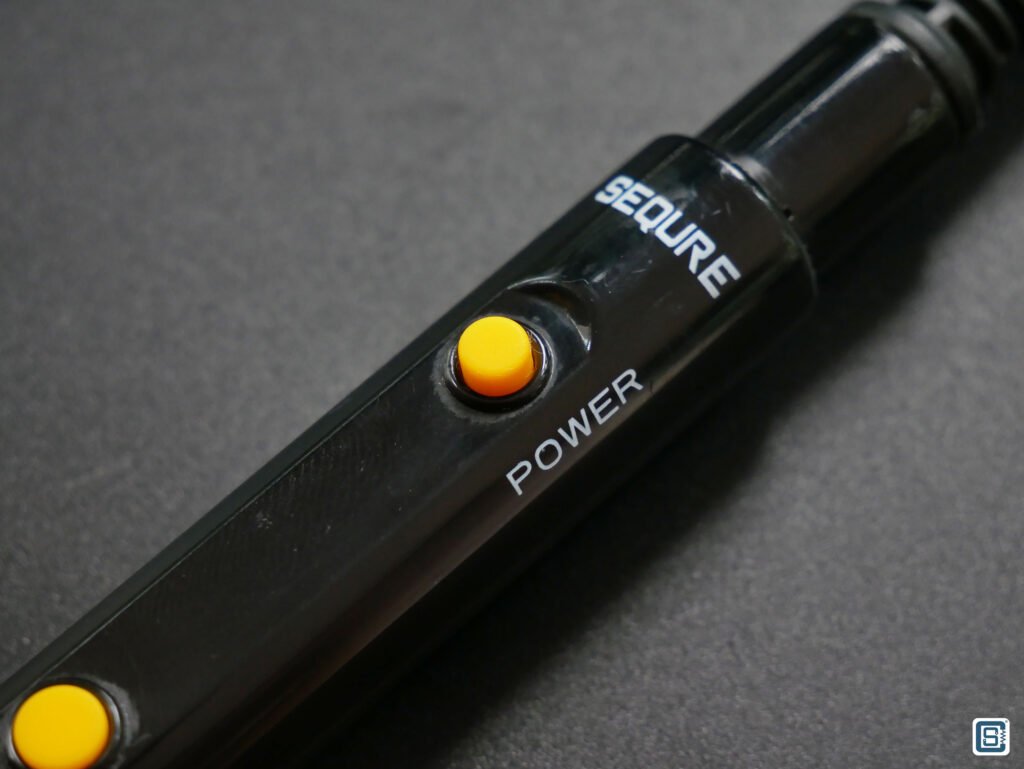
The power switch is a mechanically actuated one, just like the one you will find on a searchlight. It has good tactile feedback. The switch has a Silicone/Rubber cap which is very comfortable to use. Apart from the power switch, there are also two other push buttons that also come with Silicone caps. The two buttons can be used to adjust the temperature and access the settings.
The iron grip is also made of good-quality Silicone and it provides excellent grip in all conditions. The grip remains relatively warm even if the iron is set to high temperatures. The plastic cap can get a little warmer, but you will never have to hold it there.
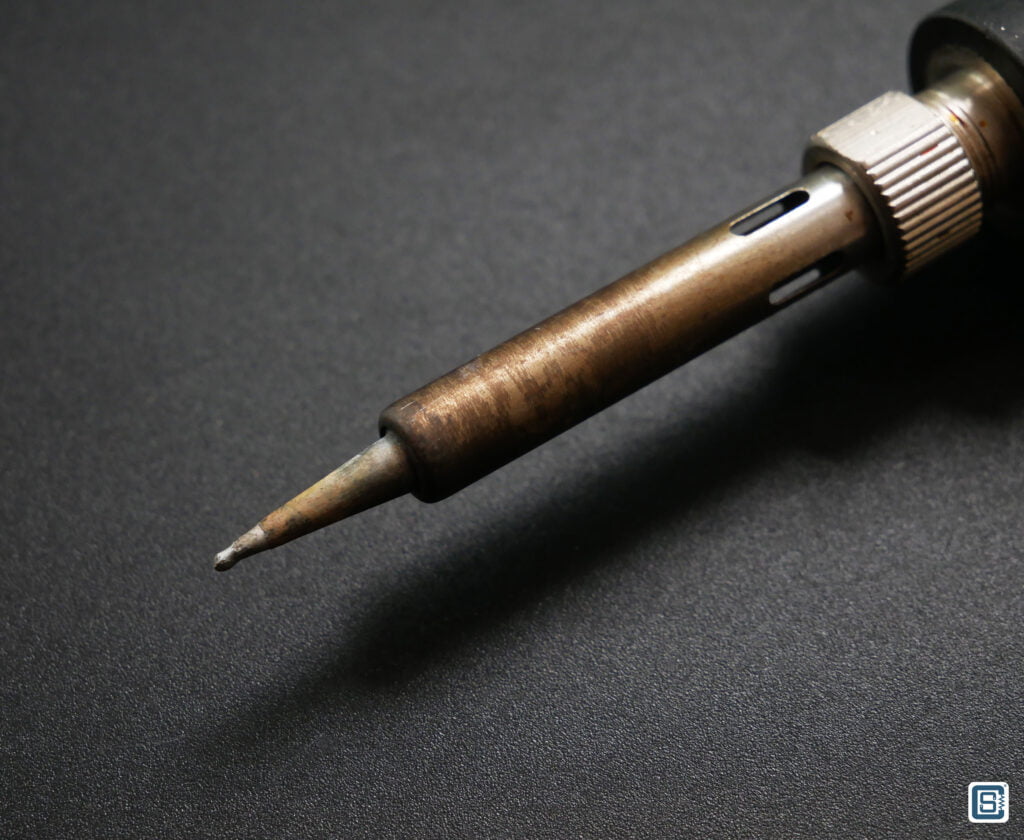
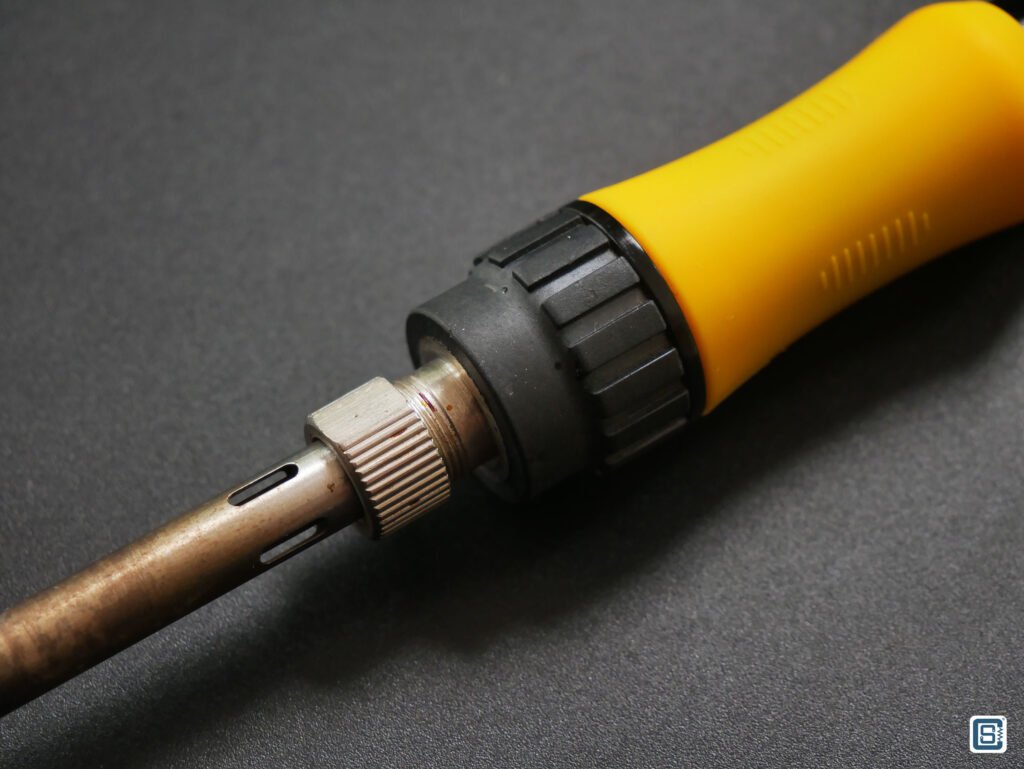
Changing the iron tip is very easy, just like any other Hakko-compatible iron. Just untighten the screw and use a nose-plier to remove the tip if it is hot. The SQ-A110 is the lengthiest soldering iron we have seen. But we can live with it. Overall, the Sequre SQ-A110 excels in build quality, materials, and ergonomics in our opinion.
Operation
The SQ-A110 is a digitally controlled iron. That means the heating element of the iron has a temperature sensor integrated into it. The STM8 microcontroller inside the SQ-A110 can measure this temperature and adjust the driver Triac that is connected to the heating element. This way, the iron can reach and maintain the temperature precisely and accurately. But since the temperature sensor is placed inside the heating element, not the actual soldering tip, the measured temperature is not equal to the tip temperature. There will be a temperature gradient that starts at the core of the heating element and the tip of the iron. There will also be a latency for maintaining the tip temperature since any temperature change needs to overcome the gradient to be accurate. This is why more crucial applications use soldering irons with in-tip temperature sensors.
That said, for all the normal soldering jobs an iron like the SQ-A110 would be sufficient. As long as the heating element can deliver more heat as it is taken out, then we should be fine. The SQ-A110 has a maximum power draw of 110 Watts which is plenty for most applications. The irons heats up to the required temperature under 30 seconds (faster if the set temperature is lower).
Turning On
You can plug in the iron to the mains and push the main POWER switch. The LED display will show 25°C as soon as it is on. If it shows H-E instead, then there is a fault with the heating element and you need to replace it. The main switch only controls power to the system. In order to turn on the heating, you need to press and hold the K1 button for two seconds. Then the iron will start heating and the temperature rise will be displayed. The heating will stop when it reaches the preset temperature. You can start using the iron now and the microcontroller will continuously read the temperature sensor and regulate the temperature of the as you solder. Once the preset temperature is reached the display will show the preset value instead of the actual core temperature. In our opinion, the iron should be showing the actual temperature instead of the preset value.
If you want to change the temperature during work, you can press K1 to decrease and K2 to increase the temperature on the fly. As soon as you stop changing the value, the iron will start to achieve that value. If you are decreasing the temperature, the iron will naturally cool off to get to a lower temperature which can take some time depending on the environment. But if you are increasing the temperature, the iron will reach there faster since active heating will be used.
Settings
There are only four settings you can change.
- Temperature Unit (°C/°F)
- Memory Temperature
- Temperature Offset
- Sleep Timeout
You can long-press the K2 button to access the settings after you have restarted the iron. Once in the settings, you can cycle through each item by short-pressing the K2 button. Short pressing K1 button in the setting will select the setting. So to change the temperature unit, you can simply open the setting item and press K1 to change the unit. We prefer °C for most applications. The new setting will be automatically saved after a short timeout.
The second setting item is the temperature value saved in the memory. But you don’t have to do access the settings to set the temperature every time. You can change it on the fly and the new will be automatically saved after the timeout. Unfortunately, the SQ-A110 can only store a single temperature value which is a big bummer. In contrast, the Atten ST-2065D 65W soldering iron can store up to 9 temperature presets and cycle through them easily.
The next setting is the temperature offset value which will be explained in the next section. The last setting is the sleep timeout. When not in use, the soldering iron can reduce the temperature in order to save power and extend the life of the tip and heater. In sleep mode, the iron will be in standby mode. As soon as you lift the iron, the internal motion sensor will detect the movement and start heating the tip. You can set the sleep timeout in minutes in the settings.
Calibration
Your iron will come calibrated from the factory. But as we explained earlier, there will inevitably be a temperature difference between the core of the heater and the tip of the iron. For example, the iron display might show 355°C when the actual temperature of the tip is only 290°C. In order to fix the difference, the SQ-A110 allows us to set an offset of -50 °C to +50 °C. In order to find the offset value, you need to first activate the heating and allow it to reach some temperature. Then use a temperature sensor such as a Thermocouple to measure the temperature of the tip. There will be a difference between the temperature you will measure and the temperature displayed on the LED display. You can set that difference as the offset.
All of these instructions are also in the instruction manual. Unfortunately, Sequre hasn’t provided the manual in PDF version. So we scanned and converted the user manual we have to a PDF.
Teardown
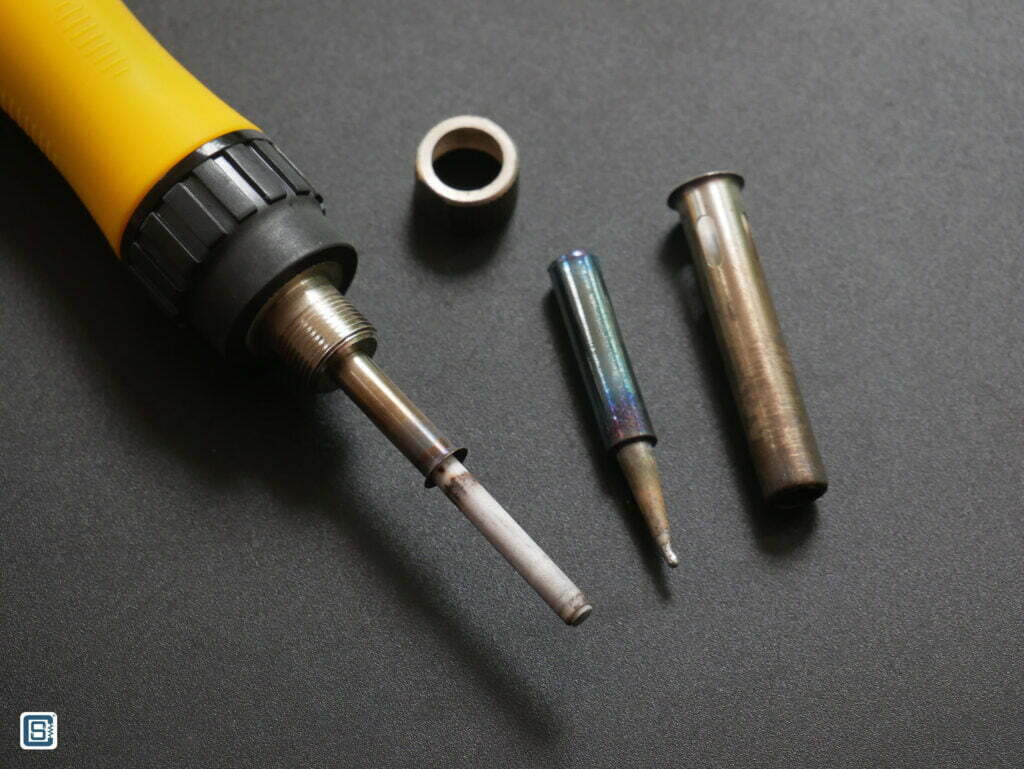
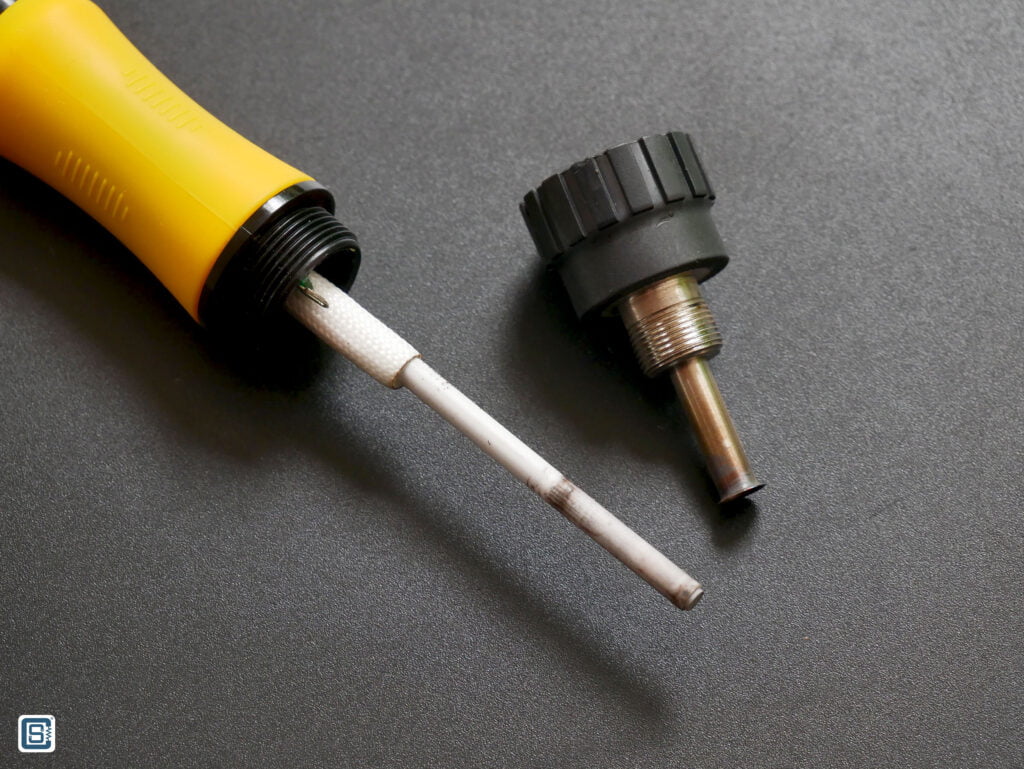
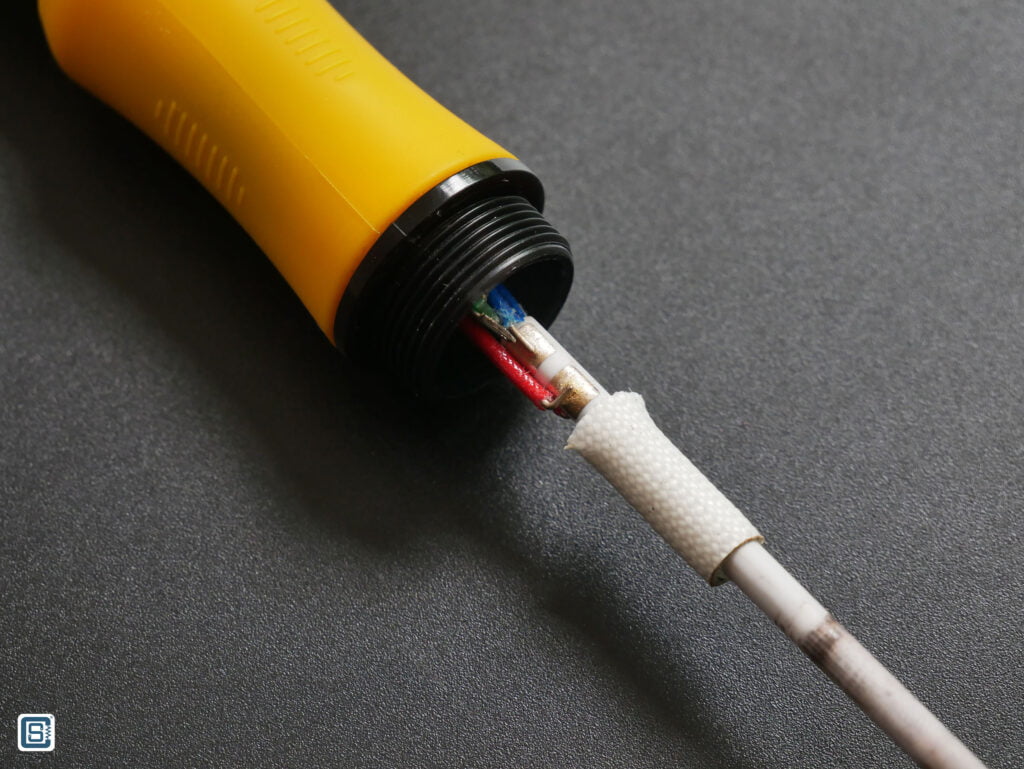
Let’s now open the iron and see what’s inside. You have to first unscrew the nut that holds the tip and the metal sleeve. Once the tip is removed, you will be able to see the ceramic body of the heating element. Now unscrew the plastic cap. It will expose the heating element completely. Surprisingly, the heating element is soldered directly onto the PCB. In some other soldering irons, the heating element will be placed on a socket so that you can easily replace it.
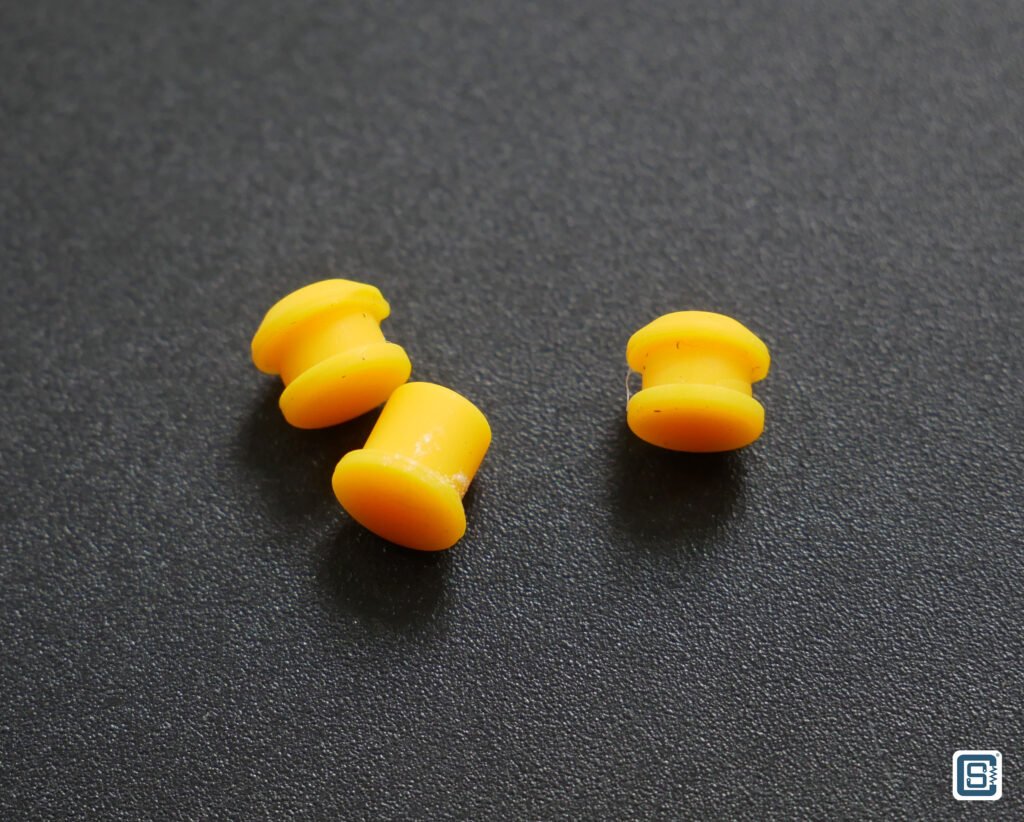
Now you need a nose plier to remove the PCB. But before trying to remove the PCB, you need to use a plastic pry tool to remove the Silicone button caps from their sockets. If you use a plastic pry tool, doing so will not damage the buttons. Once the buttons are out, you can pull out the PCB slowly with the help of the nose plier.
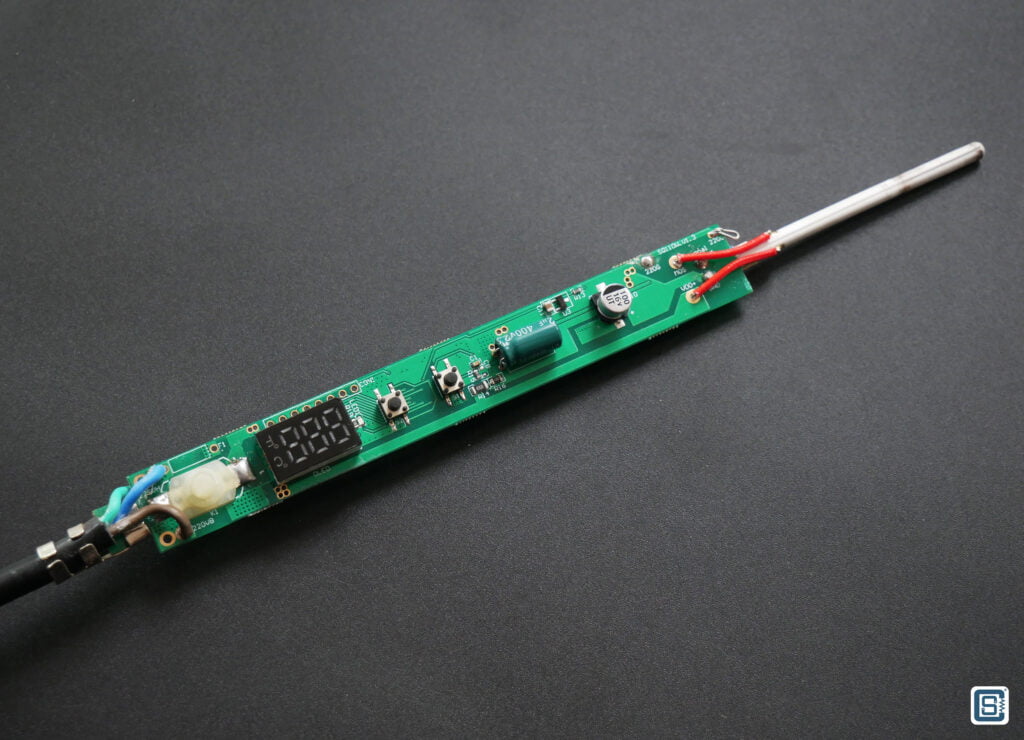
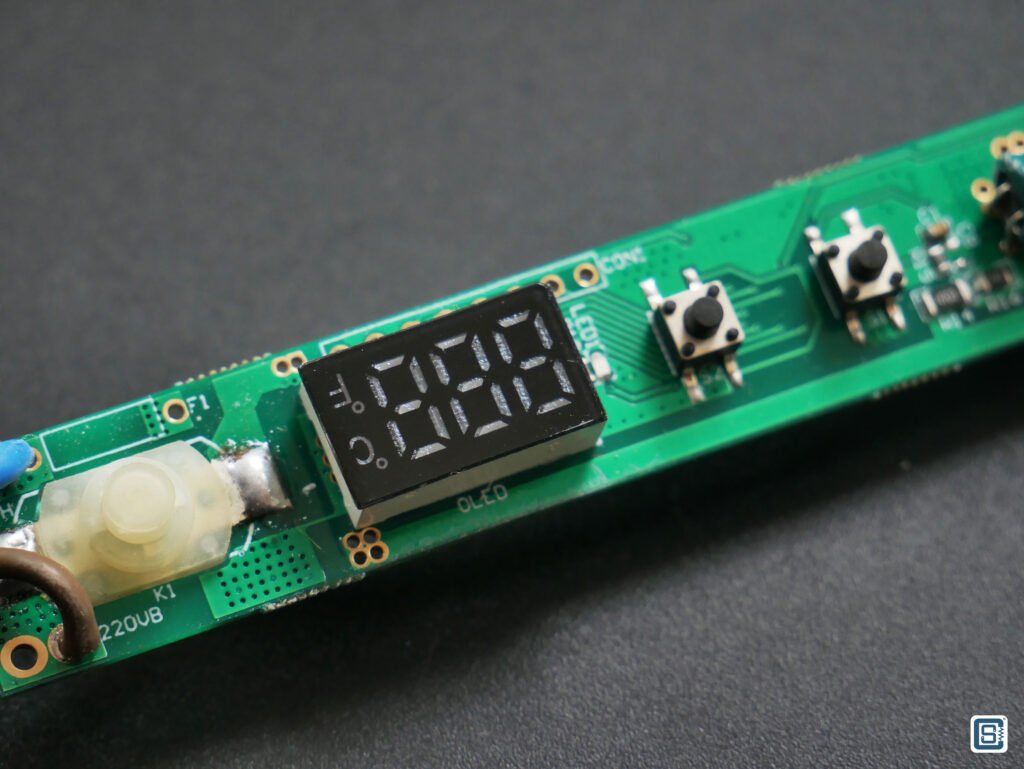
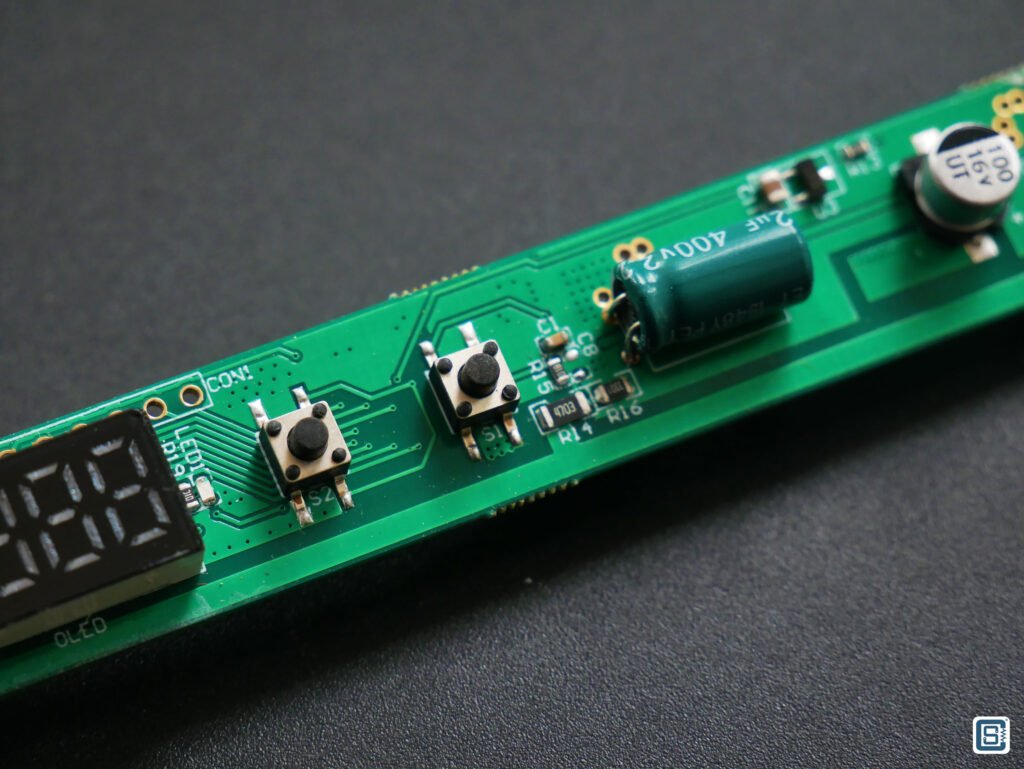
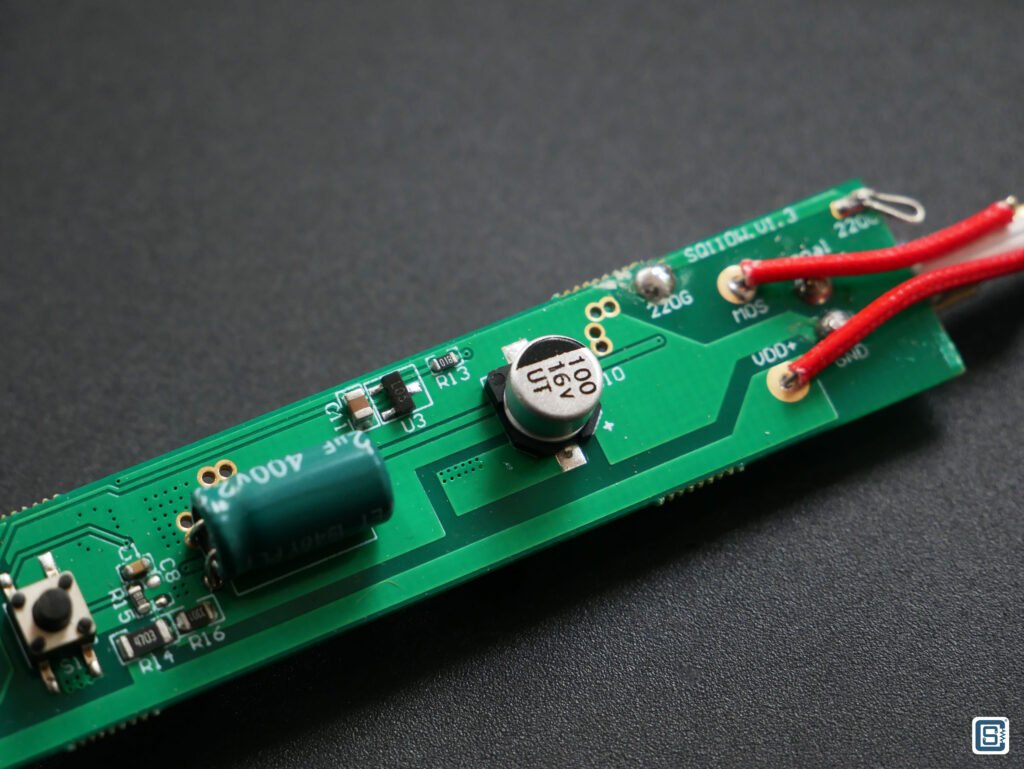
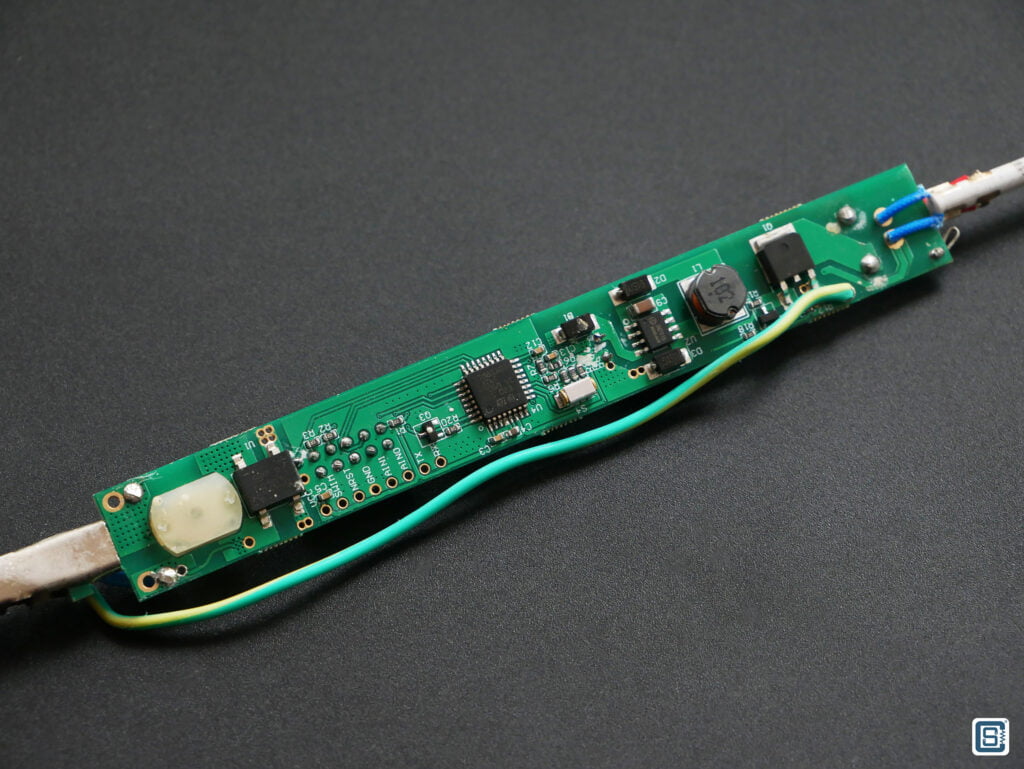
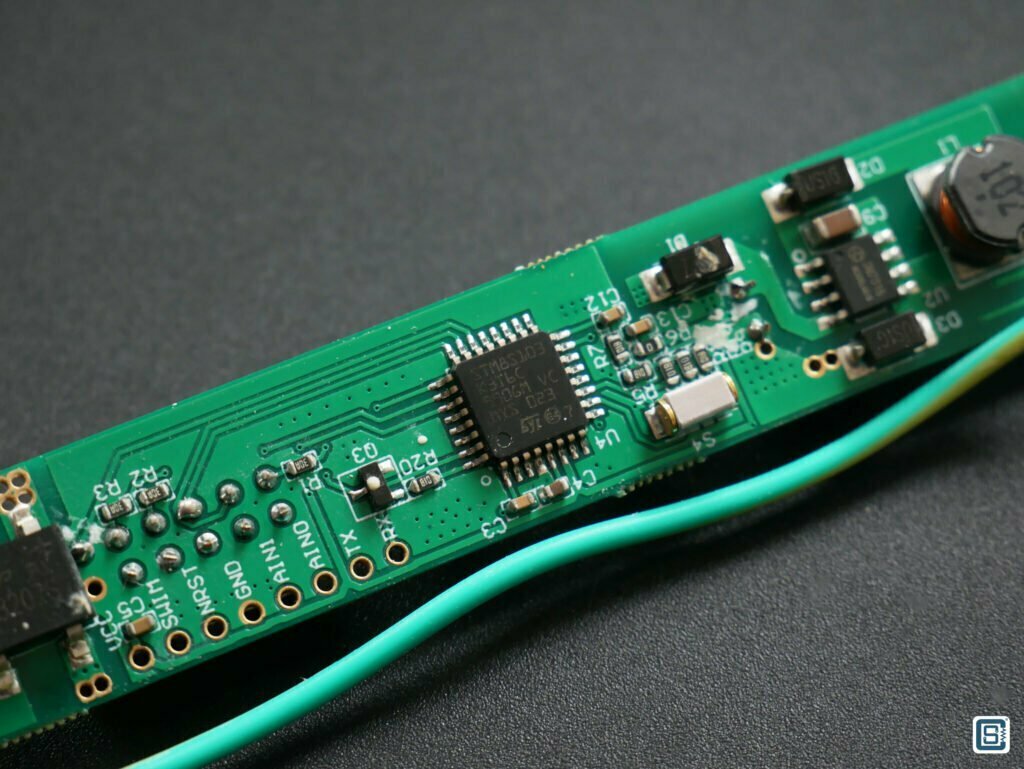
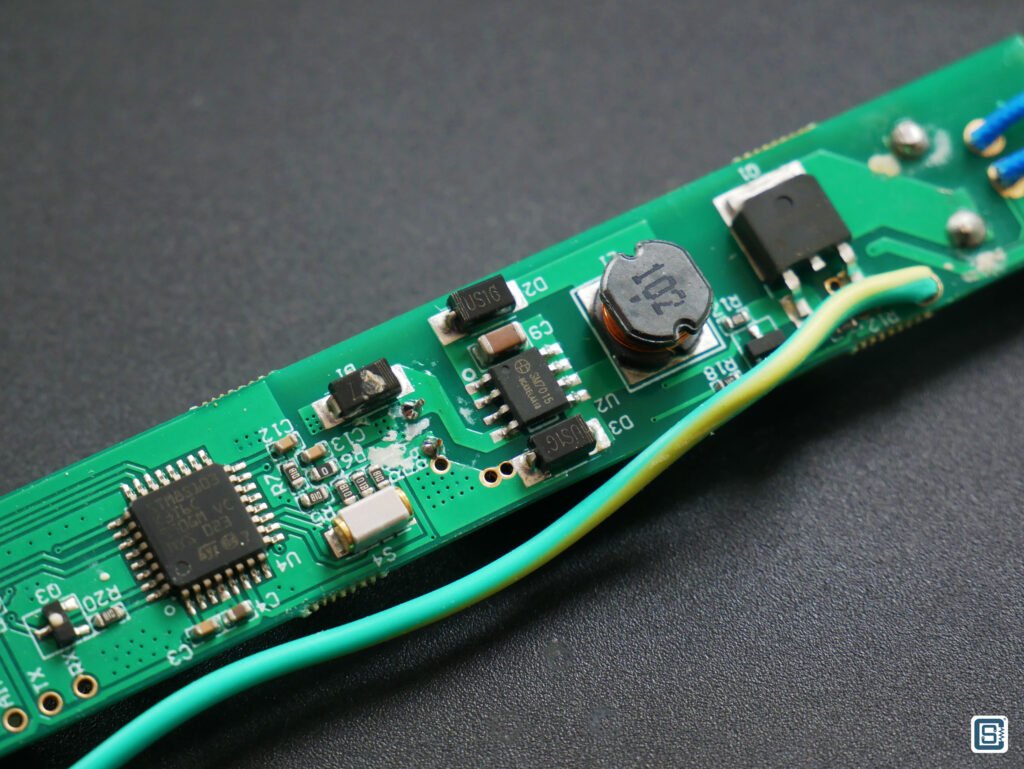
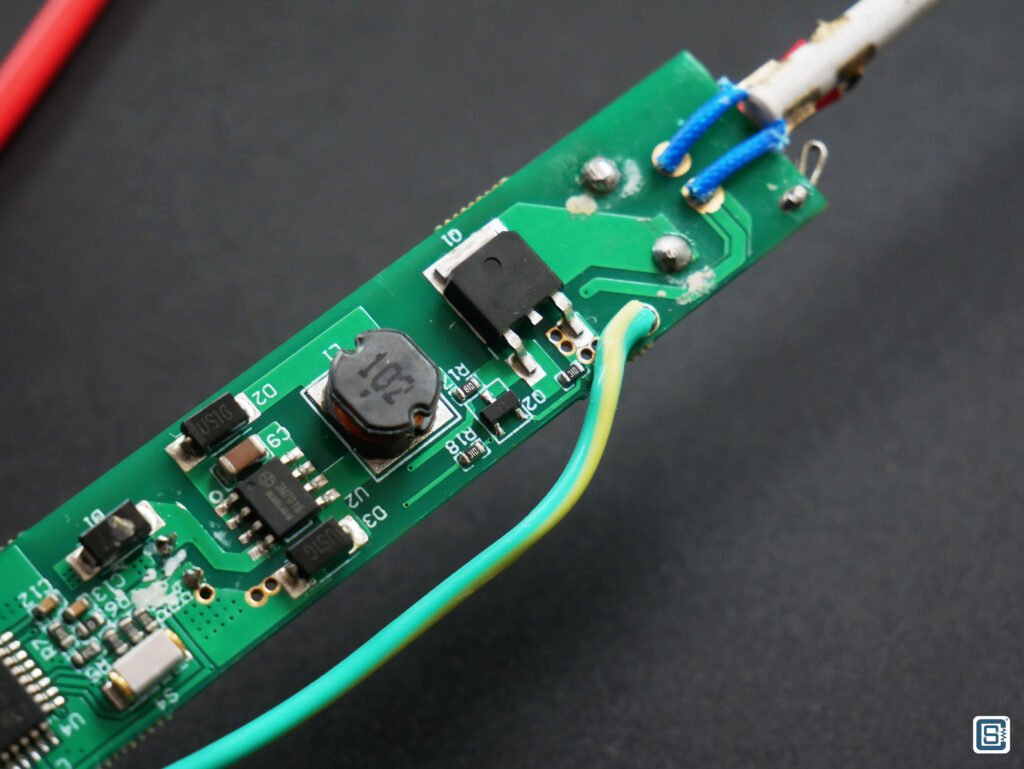
The PCB is similar to other soldering iron PCBs we have seen. There is an AC-to-DC converter based on SM7015 which generates 12V for the heating element. The 5V supply for the microcontroller and the remaining circuit is provided by a 5V linear voltage regulator marked as L05. The microcontroller used is an STM8S103K3T6C, which is an STM8 series 8-bit controller with an on-chip oscillator. The microcontroller takes care of driving the LCD, reading the push buttons, reading the motion sensor, reading the temperature sensor, and driving the Triac that drives the heater. An 8-pin breakout pad is available on the PCB which can be used to program the controller and read any debug data.
Verdict
The SEQURE SQ-A110 is a well-built general-purpose soldering iron that can satisfy most of your soldering tasks. But every product goes through design and manufacturing tradeoffs to eventually make its way to you. So let’s list the pros and cons first.
Pros
- 110 W heating element.
- 100-500 °C temperature range.
- Great build quality and ergonomics.
- Quality materials.
- Temperature memory.
- Bright LED segment display.
- Auto sleep and motion wakeup.
- Earthed tip for ESD protection.
- Mechanical power ON/OFF switch.
- Temperature calibration feature.
Cons
- Only one temperature memory. Duh!
- Relatively large size.
- Heavy and non-flexible cable.
We bought the SQ-A110 from DRKStore and it cost INR 2099. But it is out of stock at the time of writing this article. The price on the official Sequre website is $26. Like we always say, investing in a good tool will benefit you for a long time by making your work easy and saving you precious time. So if it is within your budget, the SQ-A110 is a great soldering iron you can depend on.
Links
- SEQURE SQ-A110 Digital Soldering Iron – Official Product Page
- Buy SEQURE SQ-A110 – DRK Store
- SQ-A110 User Manual [PDF]
Short Link
- Short URL to this page – https://circuitstate.com/sqa110rev

