Interfacing DFRobot SEN0370 XKC-Y26A-V Capacitive Non-Contact Liquid Sensor with Arduino
Learn how to interface the SEN0370-XKC-Y26A-V capacitive non-contact liquid-level sensor from DFRobot with Arduino boards.
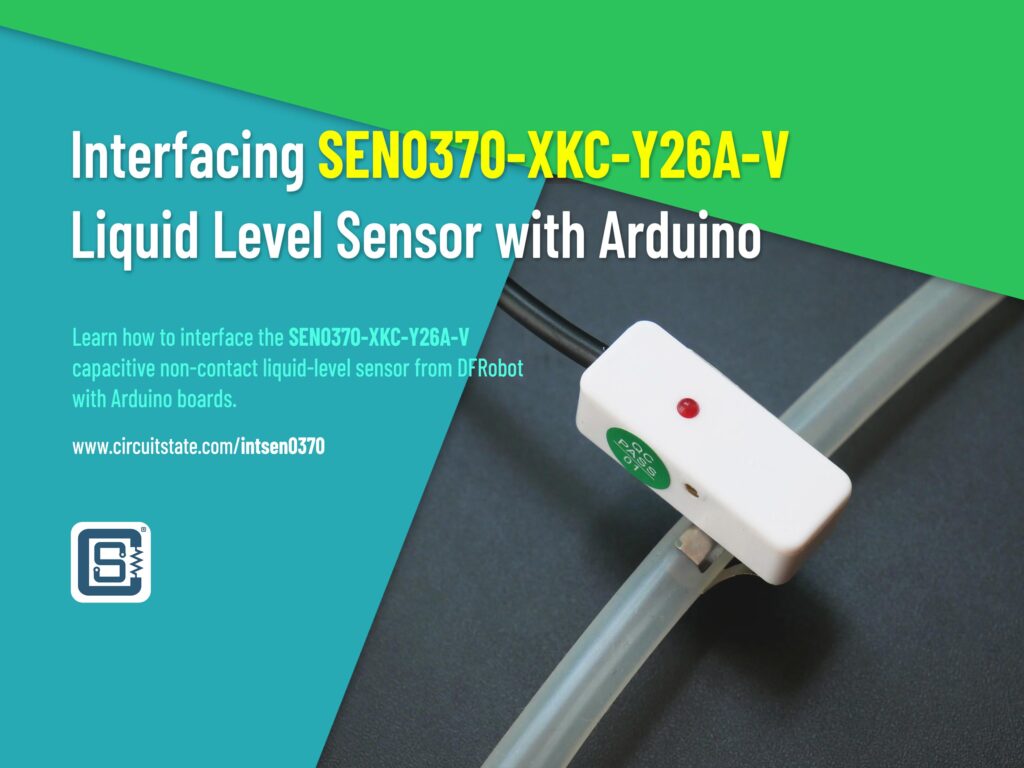
When it comes to sensing the presence or level of a fluid inside a tank or tube, the cheapest method is to use a resistive probe. It detects the liquid presence by detecting the change in resistance. But this method is invasive, which means the probes have to come in direct contact with the liquid. This is not always ideal since the liquid can actually corrode the sensing probe or contaminate the liquid itself. The ideal method is a non-invasive method. Today, we are introducing you to the XKC-Y26A-V capacitive non-contact liquid presence sensor from DFRobot. This product is sold under the SKU SEN0370. This is a completely integrated sensor that only requires a power input. Depending on how you integrate the sensor, you can detect the presence of a liquid or the level of it.
XKC-Y26A-V
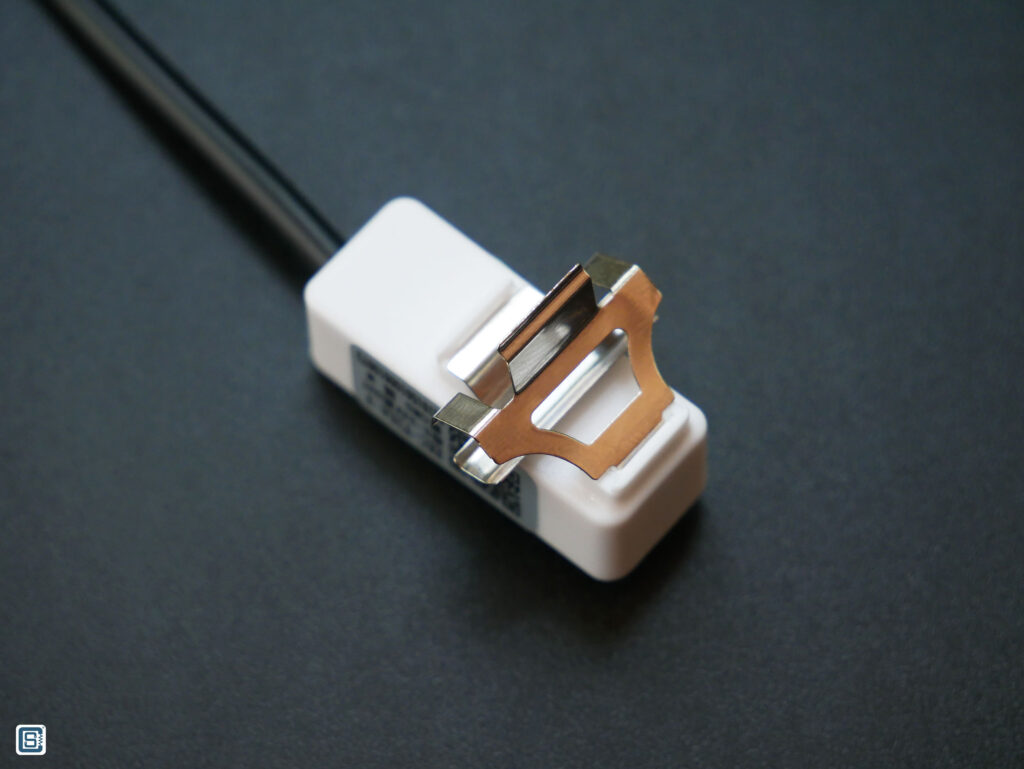
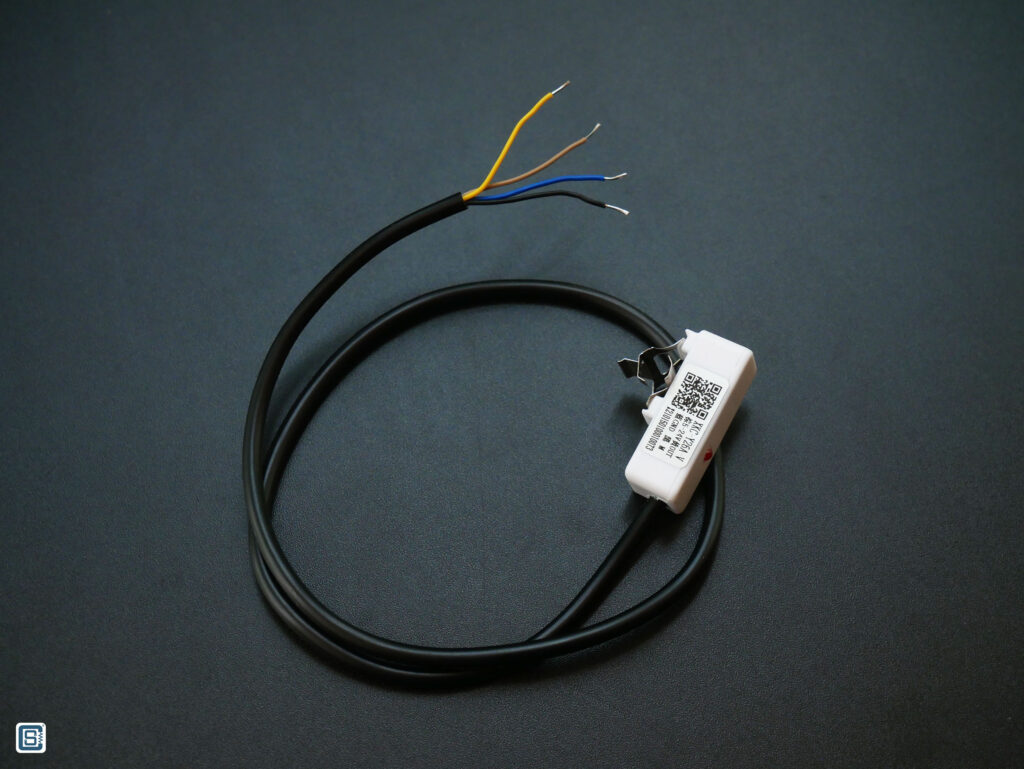
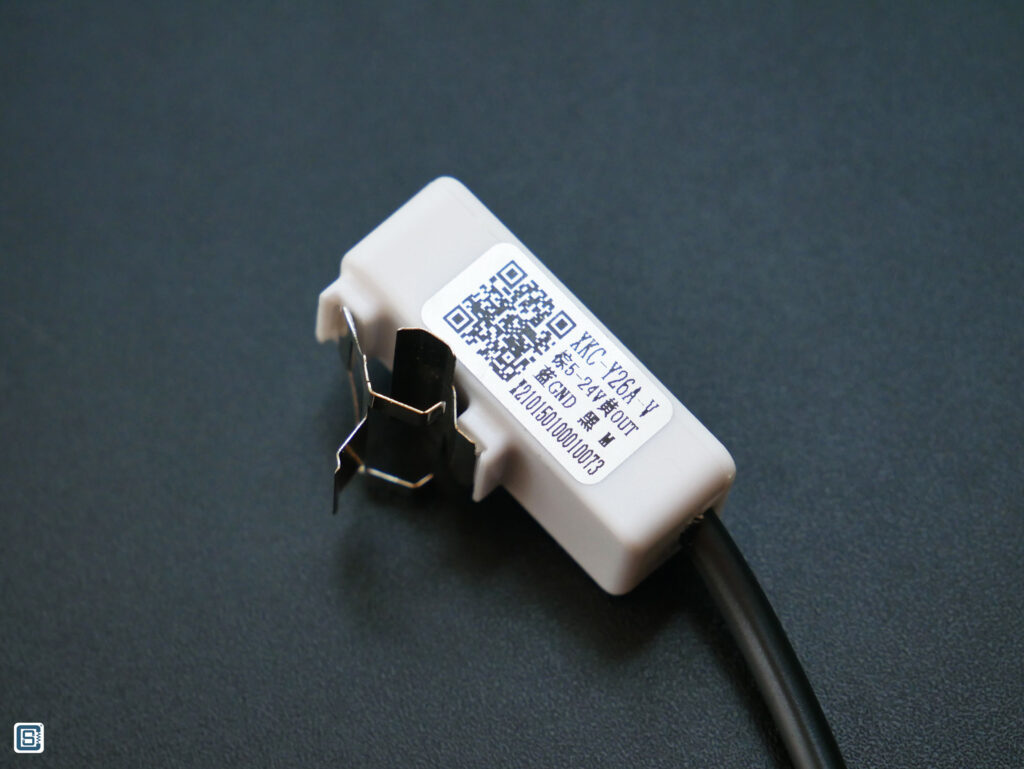
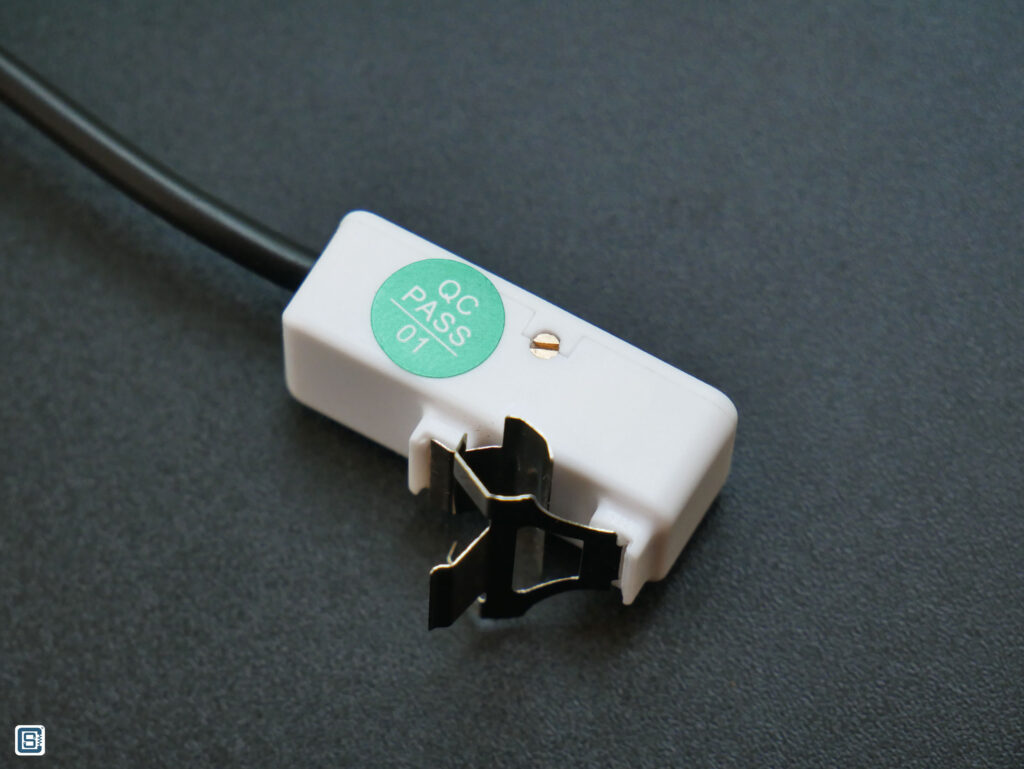
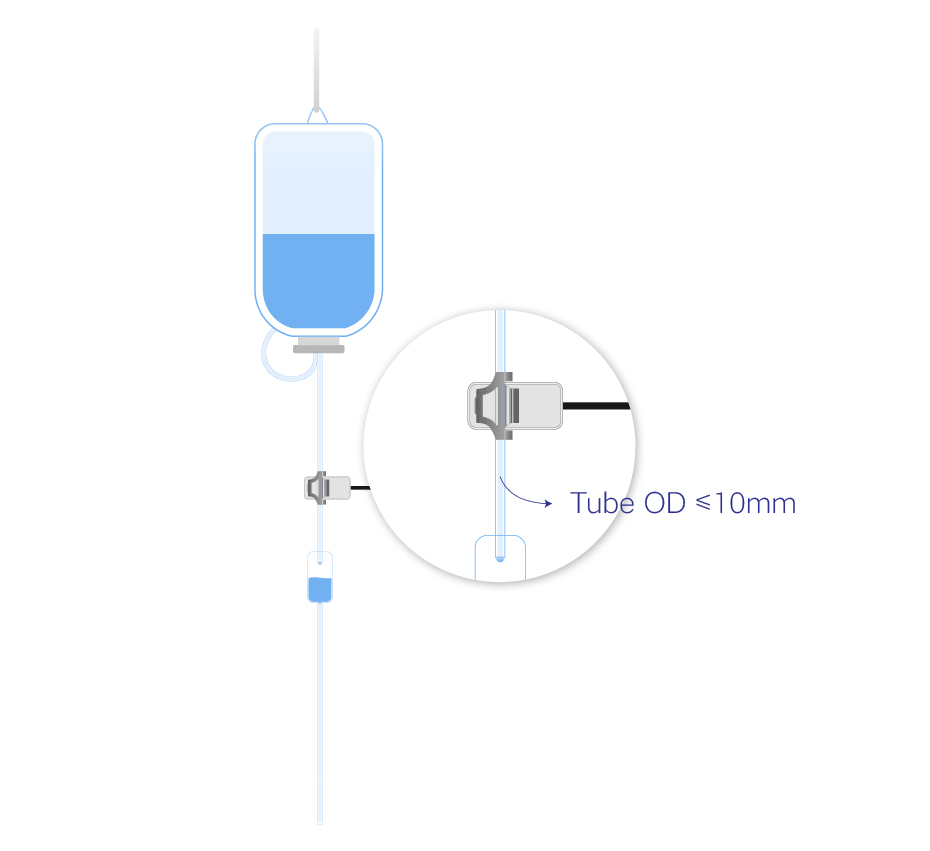
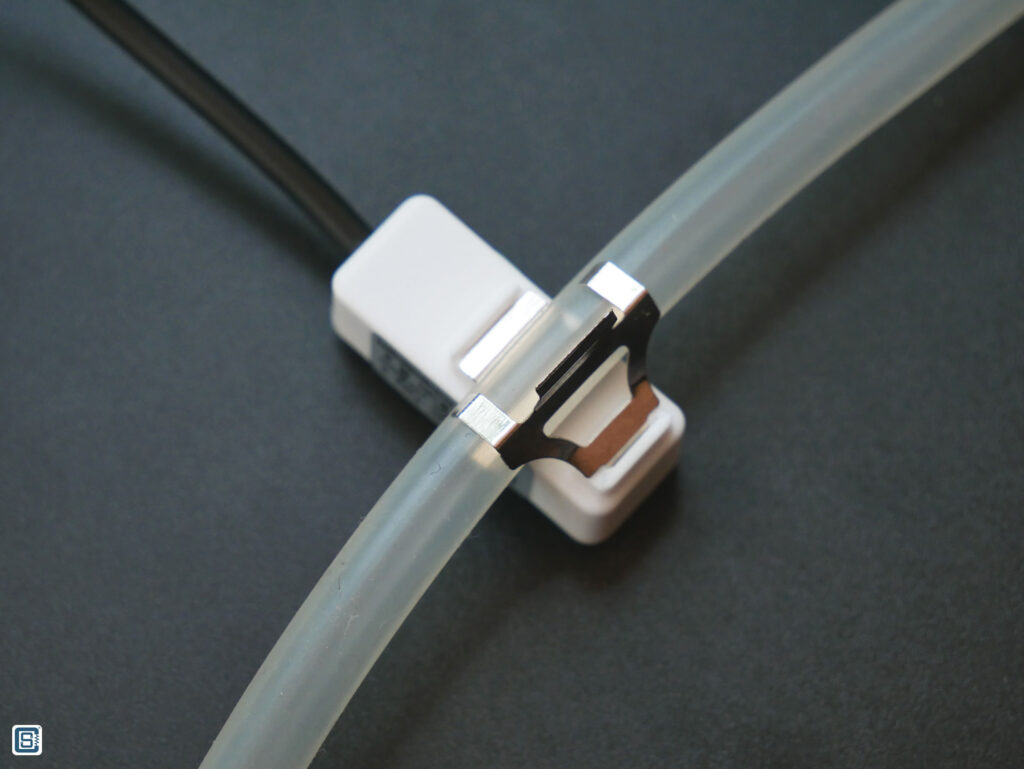
DFRobot sells the non-contact liquid level/presence sensor with SKU number SEN0370 with a part number XKC-Y26A-V printed on it. The sensor has a metal clip to accept and retain non-metal tubes (preferably made of Silicone) with diameters up to 10 mm. Even though we are using the sensor we bought from DFRobot, the XKC-Y26A-V can be bought individually from many Chinese sellers.
There are other two models of the sensor with different output interfaces, one with NPN and another with PNP output. The XKC-Y26A-V has a HIGH/LOW output which makes interfacing easier with microcontrollers. The sensor also has an LED (RED) which indicates when the sensor is active.
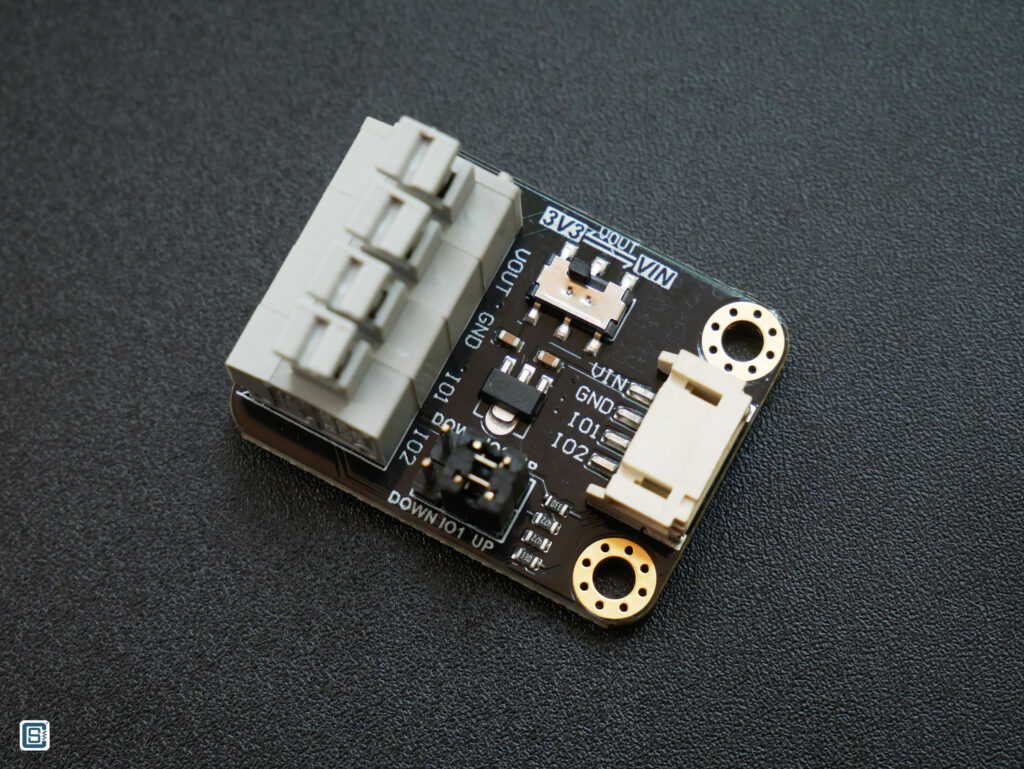
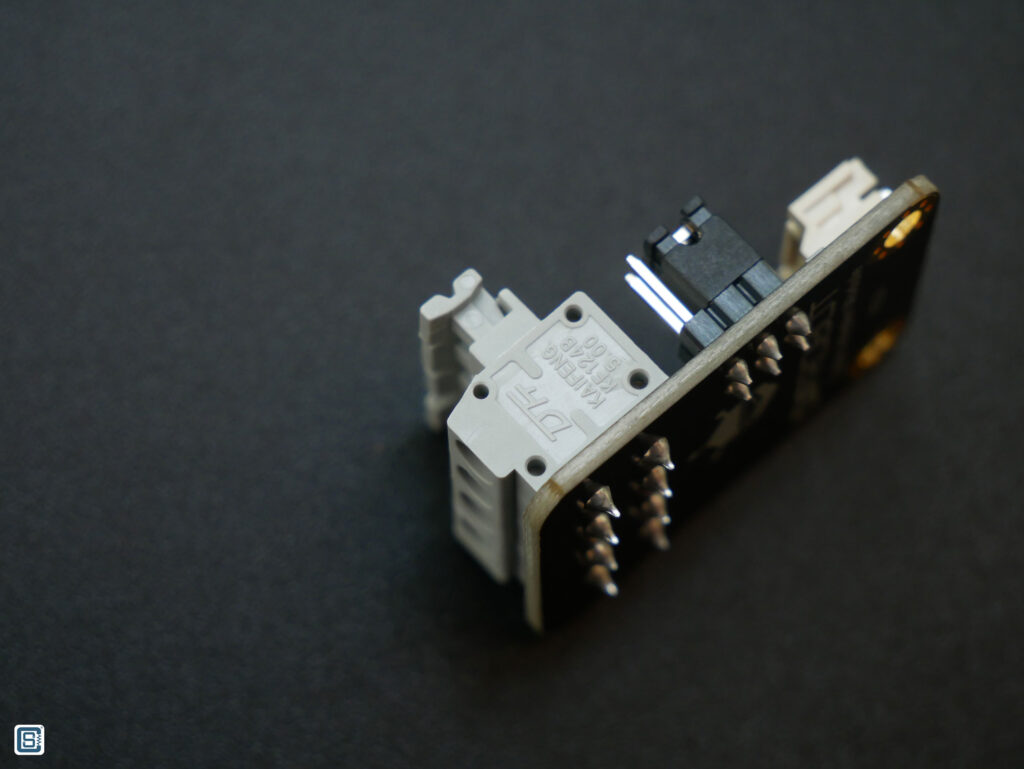
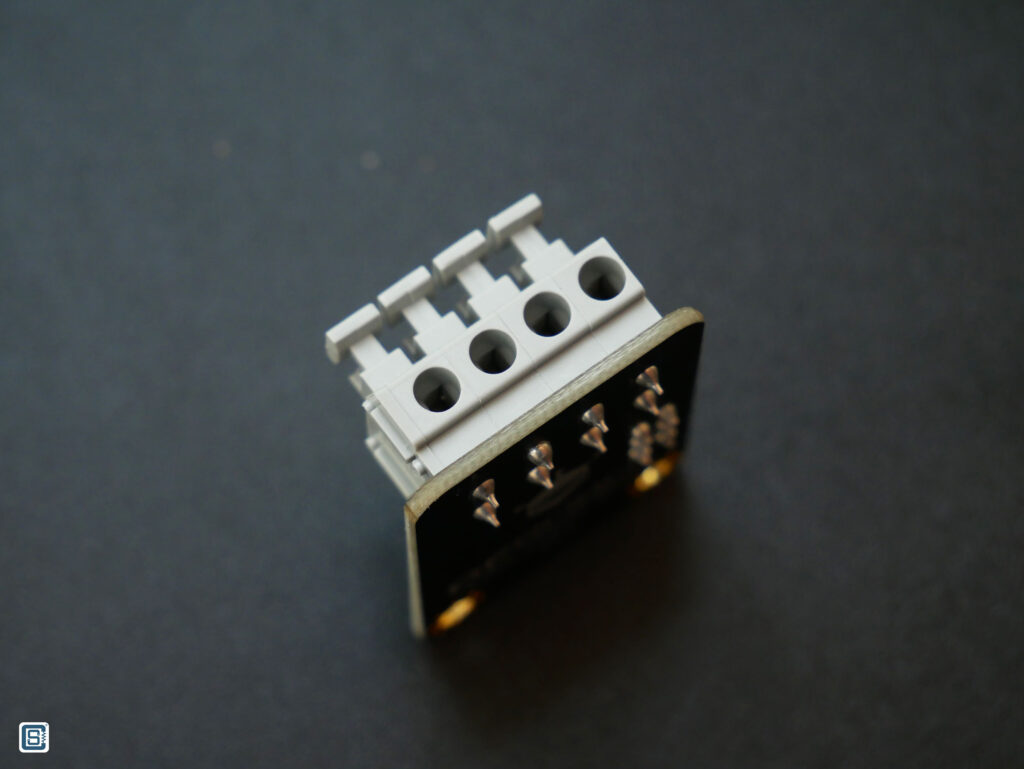
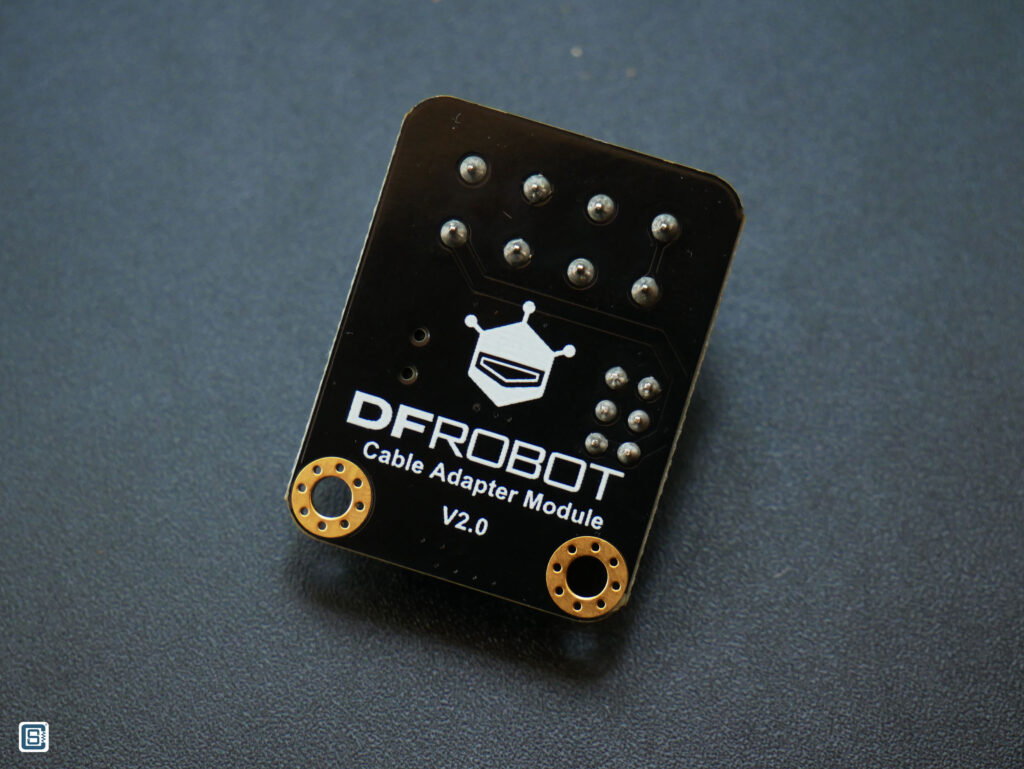
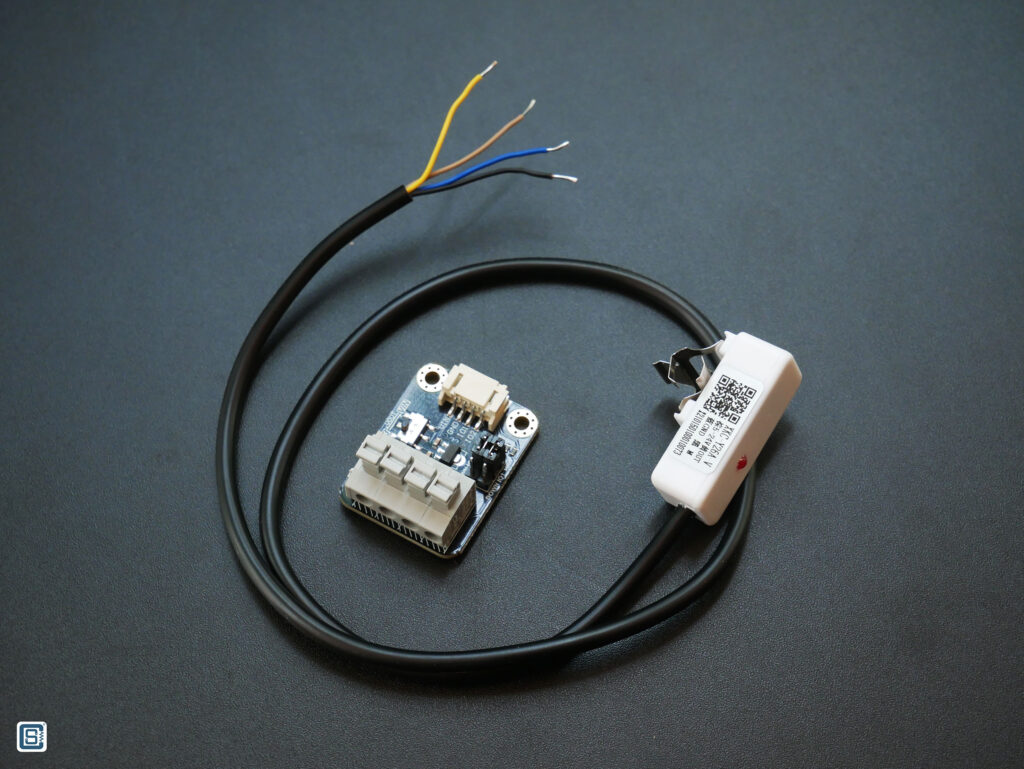
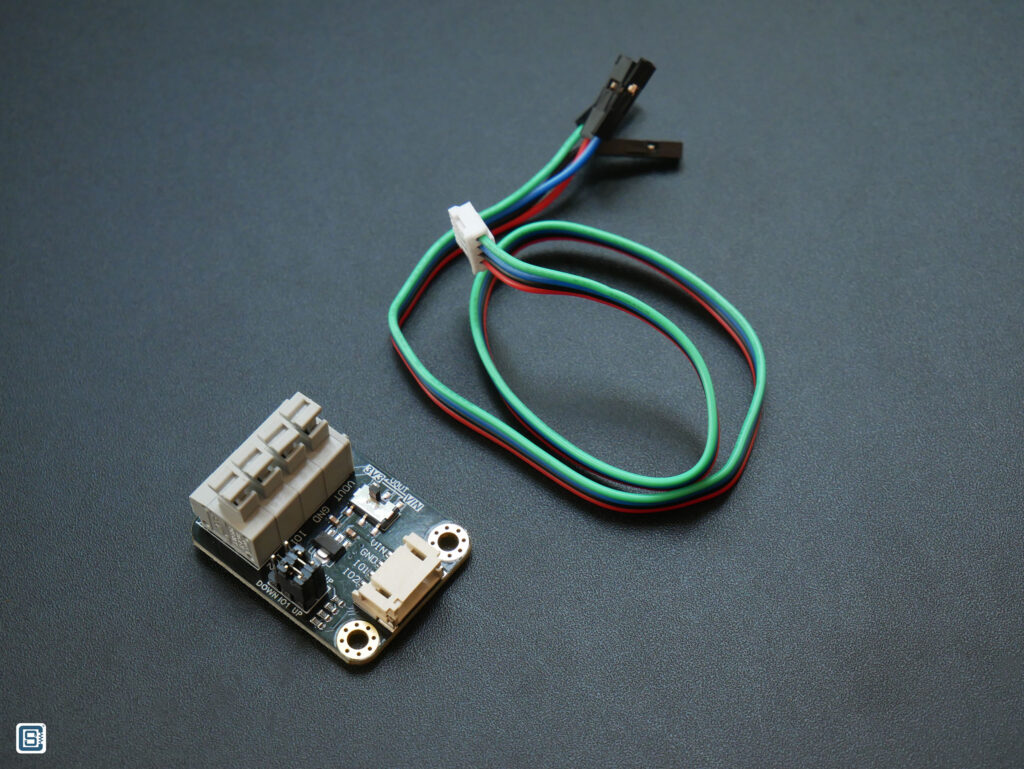
DFRobot provides an adapter board with this sensor and that makes interfacing this sensor much easier. Unfortunately, the product wiki page does not have much information on the adapter board. There is also no schematic available. The board has,
- 4-pin screw-less terminal block connector (KF124B) for the sensor.
- 4-pin JST connector for the microcontroller.
- A voltage selection slide-switch which selects between VIN or 3.3V for the sensor. There is a 7833 3.3V voltage regulator for the 3.3V out.
- Two 3-pin pin-header jumpers for selecting the IO1 and IO2 states.
Specifications
| Property | Value | |
|---|---|---|
| Input Voltage (Vin) | DC 5~24 V | |
| Current Consumption | 3~8 mA | |
| Output Voltage (High) | Vin | |
| Output Voltage (Low) | 0V | |
| Output Current | 1~100 mA | |
| Response Time | 500 ms | |
| Working environment temperature | 0~75℃ | |
| Detection sensitivity | Pipe outer diameter D(mm) | Induction max pipe wall thickness L(mm) |
| D≥100 | 20 ± 2 | |
| 100>D≥80 | 15 ± 2 | |
| 80>D≥60 | 12 ± 1.5 | |
| 60>D≥40 | 7 ± 1.0 | |
| 40>D≥30 | 5 ± 1.0 | |
| 30>D≥20 | 3 ± 1.0 | |
| 20>D≥10 | 1.5 ± 0.5 | |
| Applicable pipe diameter range | 6~10 mm | |
| Level error | ±2 mm | |
| Humidity | 5%~100% | |
| Material | ABS | |
| Protection grade | IP65 | |
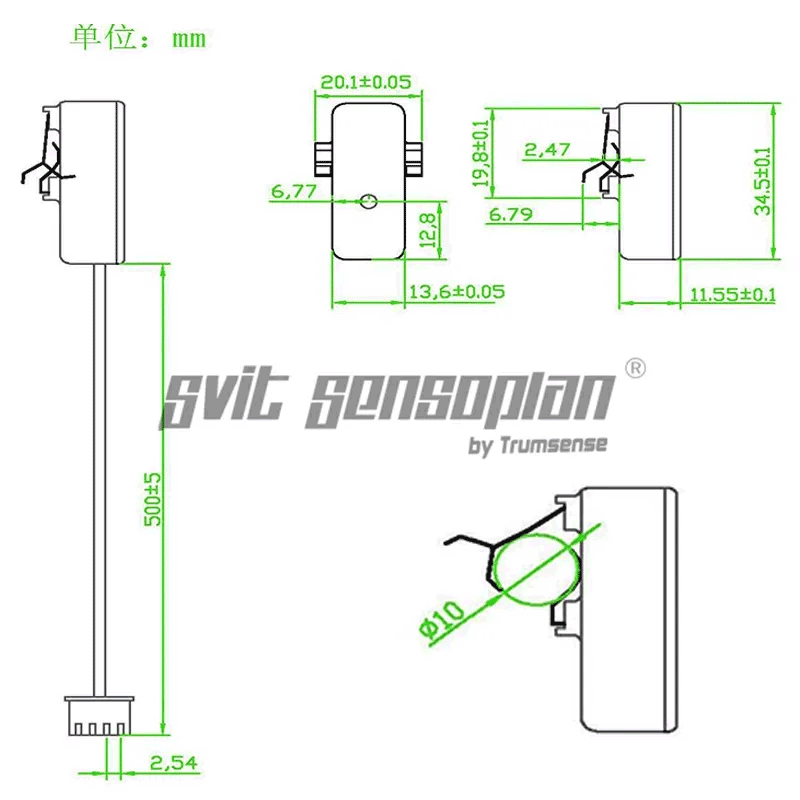
Drawing
Pinout
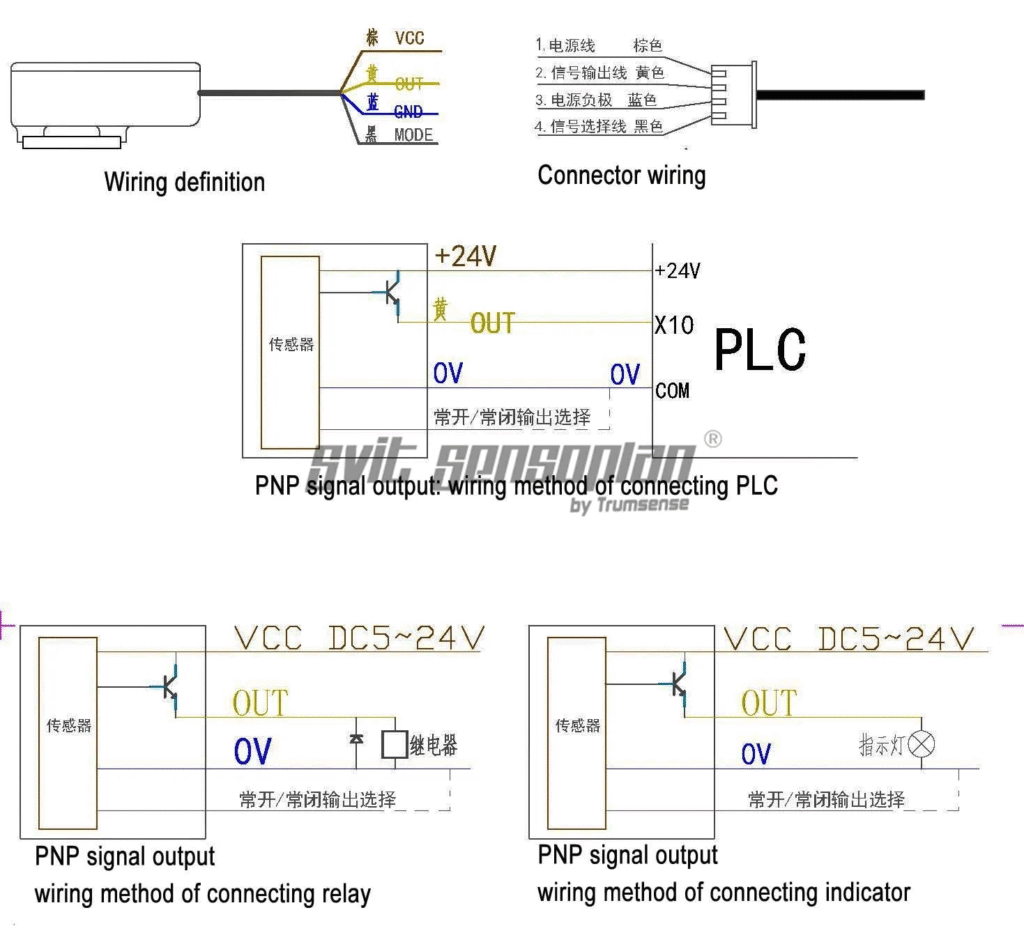
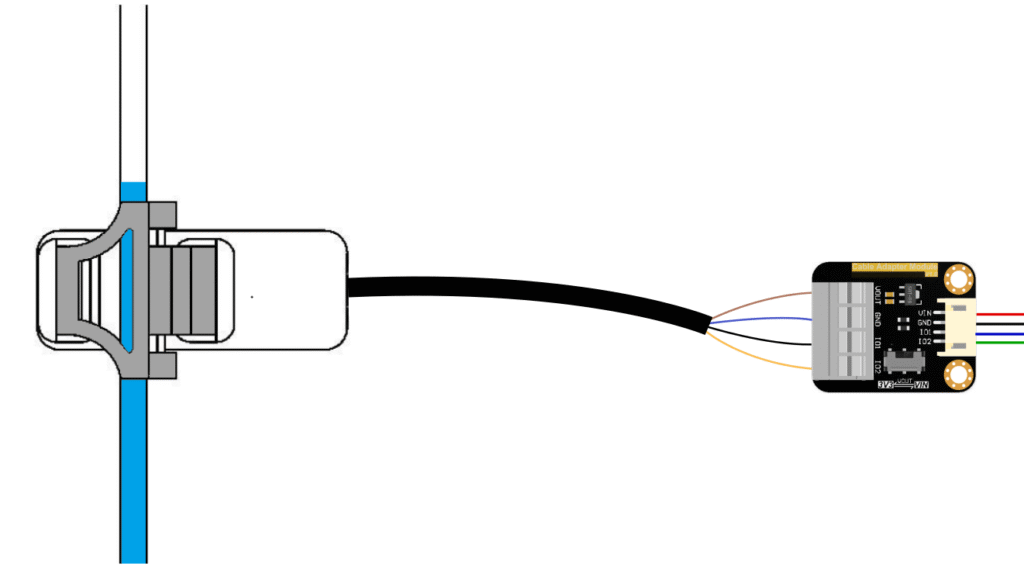
Following is the pinout of the sensor module itself. As you can see, the output is an open-collector type. This allows us to connect any voltage between 5~24V to the VCC pin and get the output no the 2nd (Yellow) pin. The third wire (Black) one is for selecting the direction of the output. You can have a Normally Open (NO) behaviour as well as Normally Closed (NC) behaviour depending on whether you connect the Black wire to the GND.
| Pin | Label | Description |
|---|---|---|
| 1 (Brown) | VOUT | Liquid Sensor Power Positive, +5V~+24V |
| 2 (Blue) | GND | Liquid Sensor Power Negative |
| 3 (Black) | IO1 | Liquid Sensor Forward/Backward (NC/NO) output select |
| 4 (Yellow) | IO2 | Liquid Sensor Level Signal Output |
Following is the pinout of the adapter board. The wire colors are different here.
| Pin | Label | Description |
|---|---|---|
| 1 (Red) | VIN | Power Positive |
| 2 (Black) | GND | Power Negative |
| 3 (Blue) | IO1 | Liquid Sensor Forward/Backward (NC/NO) output select |
| 4 (Green) | IO2 | Liquid Level Signal Output |
Working Principle
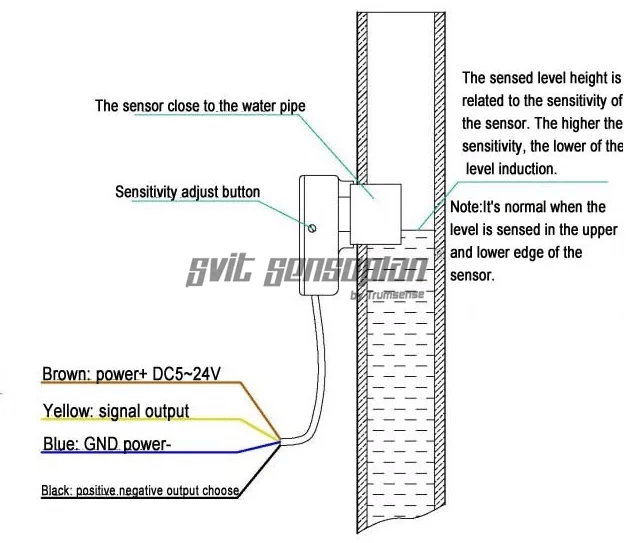
The sensor works by capacitively sensing the presence of a liquid. When there is no liquid presence inside the tube, the static capacitance will be measured by the sensor’s signal processing chip. This capacitance is not affected by the tube material or wall thickness. When some form of liquid approaches the sensor, the capacitance varies and when it rises above a threshold, the sensor will output a digital signal.
If the sensor is not detecting the liquid for some reason, you can use a small slotted screw driver to adjust the sensitivity of the sensor by rotating the screw. Adjusting the sensitivity is a trial and error process.
Placing the Tube
The sensor is suitable for tubes with an outer diameter of 3~10 mm. You can unlock the clip with a small amount of force and them carefully place the tube inside. When the tube is in place, you can lock the clip. This will hold the tube in place. Be careful not to bend the clip more than 60°.
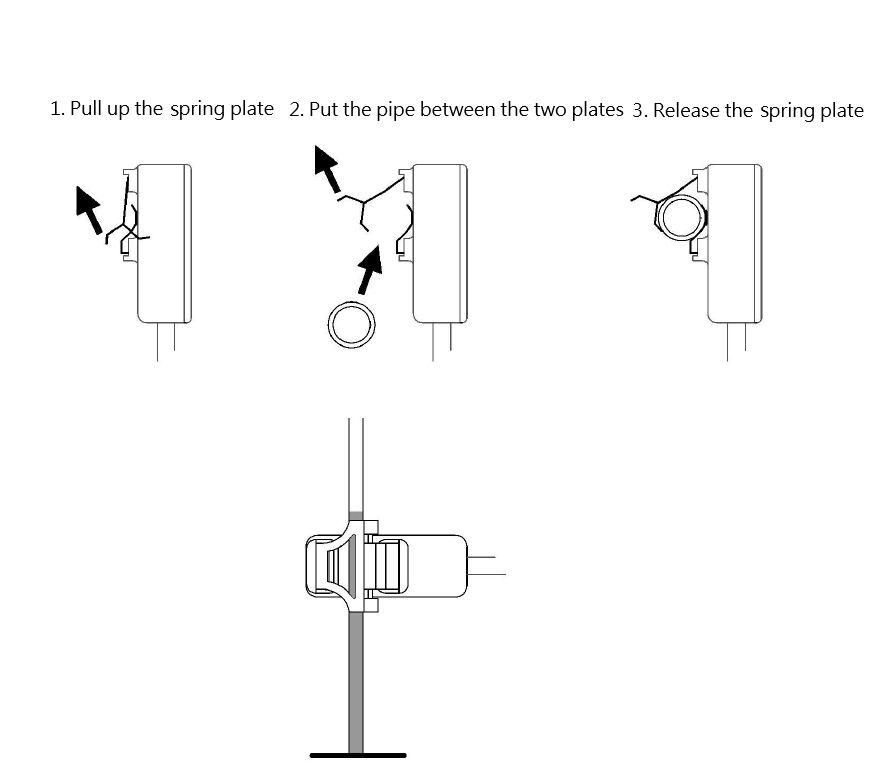
You can see from the below images how we have placed a 10 mm Silicone tube on the sensor.
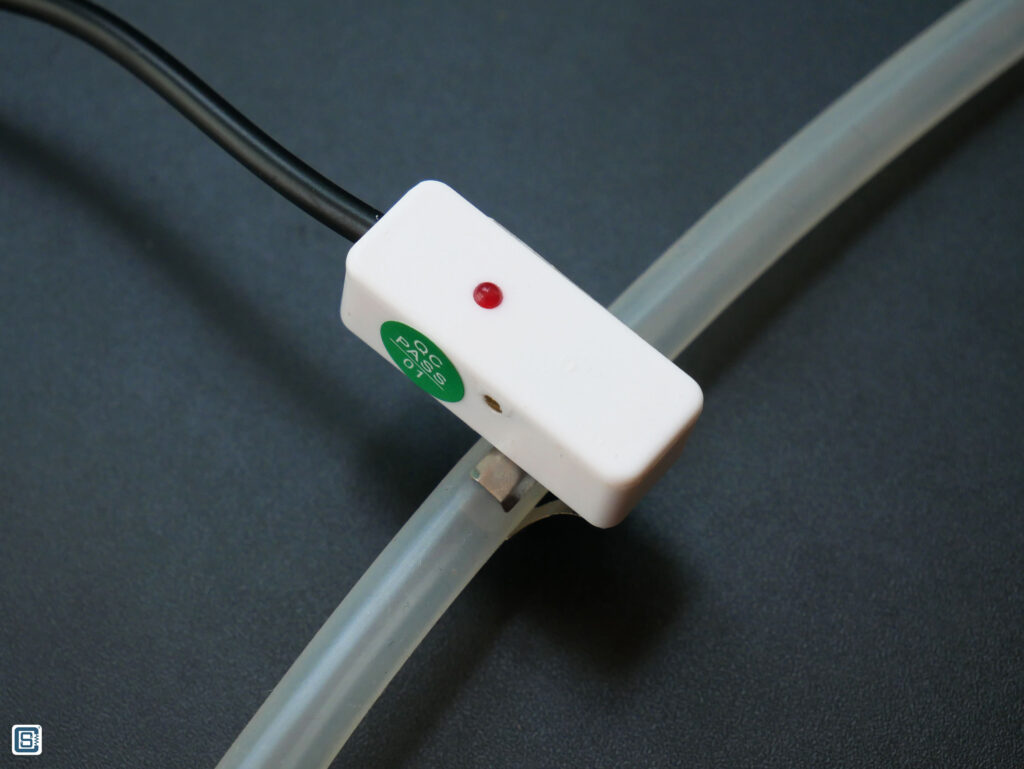
Wiring
The wiring can be done as per the diagram. We are going to use the DFRobot FireBeetle ESP32-E board for interfacing. Therefore, we need to put the power selection switch to 3V3 for direct 3.3V supply. The IO2 and IO1 pins can be connected to the UP position.
Code
Following is the Arduino code for reading the output from the sensor. Since the sensor outputs a digital signal, we don’t need any libraries to interface the sensor. We just need to read the GPIO pin’s input state. You can use Arduino IDE or PlatformIO to upload the code to your board. Even though we used the FireBeetle-ESP32E here, you can use any Arduino board for this application.
int inPin = 21;
boolean mode = 1;
int modePin = 22;

void setup() {
  Serial.begin (115200);
  pinMode (inPin, INPUT);
  pinMode (modePin, OUTPUT);
  digitalWrite (modePin, mode);
}

void loop() {
  Serial.println (digitalRead (inPin));
  delay (500);
}After uploading, you can see the output on the serial monitor. If the mode is 1, then the sensor will produce a 0 when the sensor is actively detecting fluid and if the mode is 0, then the sensor will produce a 0 for an active output.
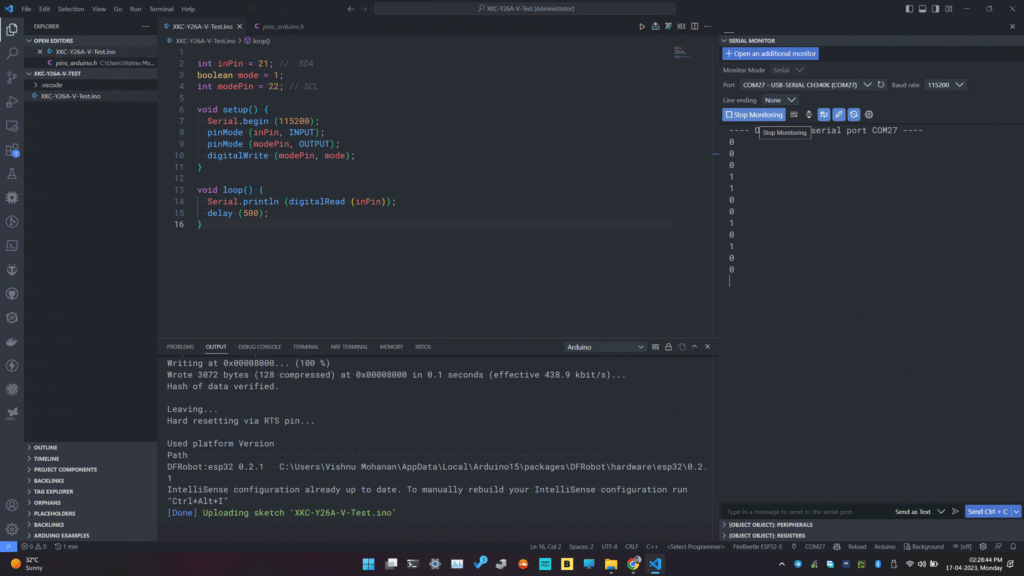
Even without installing a tube or running liquid, we can test the sensor by touching the metal clips at the two ends. We tried attaching a Silicone tube with a little water inside and tried moving the position of the liquid along the tube. At first, the sensor did not detect the presence of water. But after increasing the sensitivity by adjusting the internal potentiometer with a provided screwdriver, the sensor was able to detect the presence of water flawlessly.
Links
- Non-contact Capacitive Liquid Level Sensor for Tube OD≤10mm – DFRobot
- XKC-Y26A-V – Product Page
- Non-contact Liquid Level Sensor for Small Diameter Pipe Wiki – DFRobot
Short Link
- Short URL to this page – https://www.circuitstate.com/intsen0370

